
Have you had a chance to play with the new MarqueeLove from Heidi Swapp?


They are fun letters available at Michaels that come all white and ready for you to diy to your hearts content.
And that's just what I did. Today I have a little tutorial of how I altered a few letters for a gift for a 17 year old male teen.
If you have any 17 year olds in your life, you may well have an idea as to the challenge it can be to buy for that guy?
But this is what I am came up with...

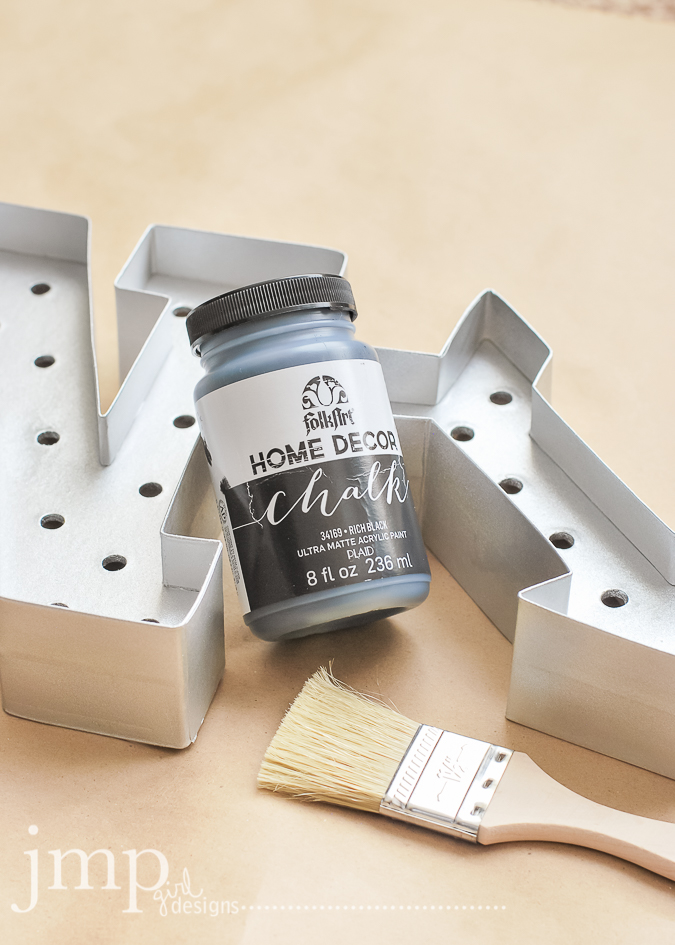
I used:
metallic silver spray paint
black chalk paint
a wide bristly paint brush

Make sure they dry well between coats.
It took about three good coats to get them covered as I liked them.
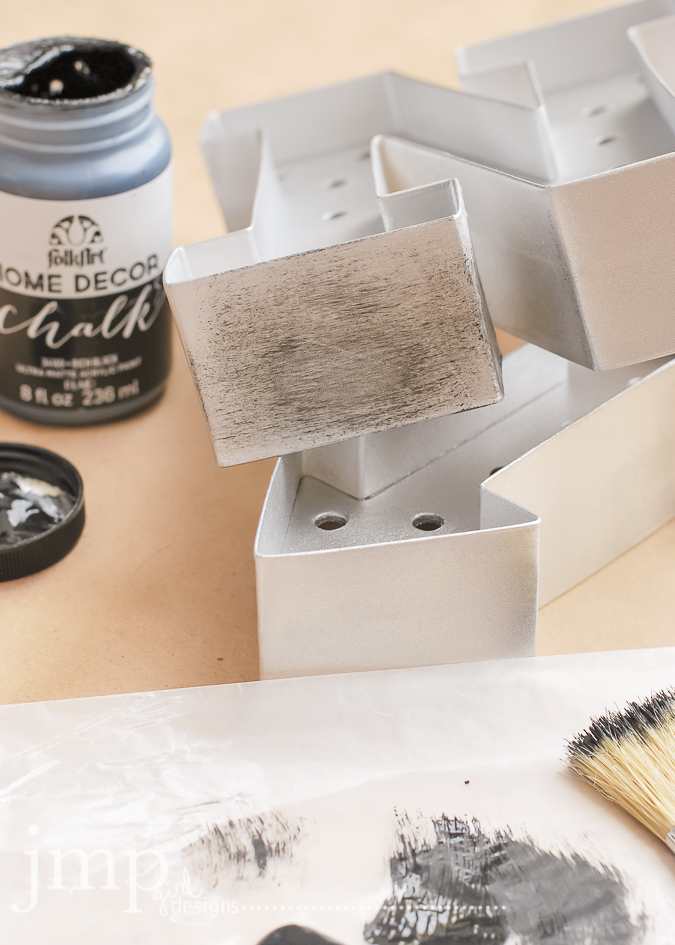
To do this I would dip the paint brush into the paint, and then dab off as much as I could but still have some paint on the brush.
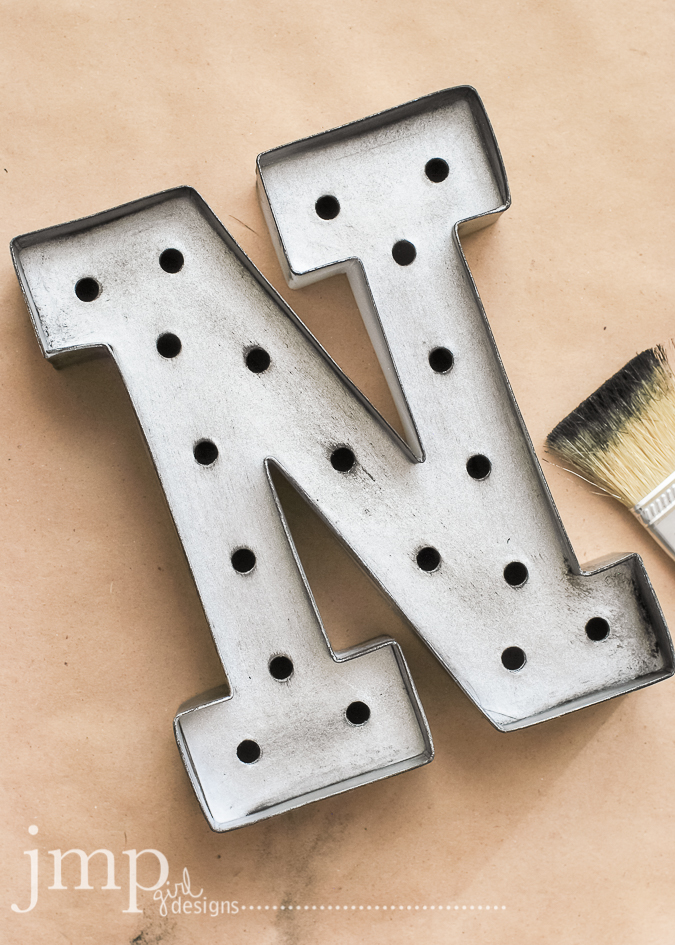

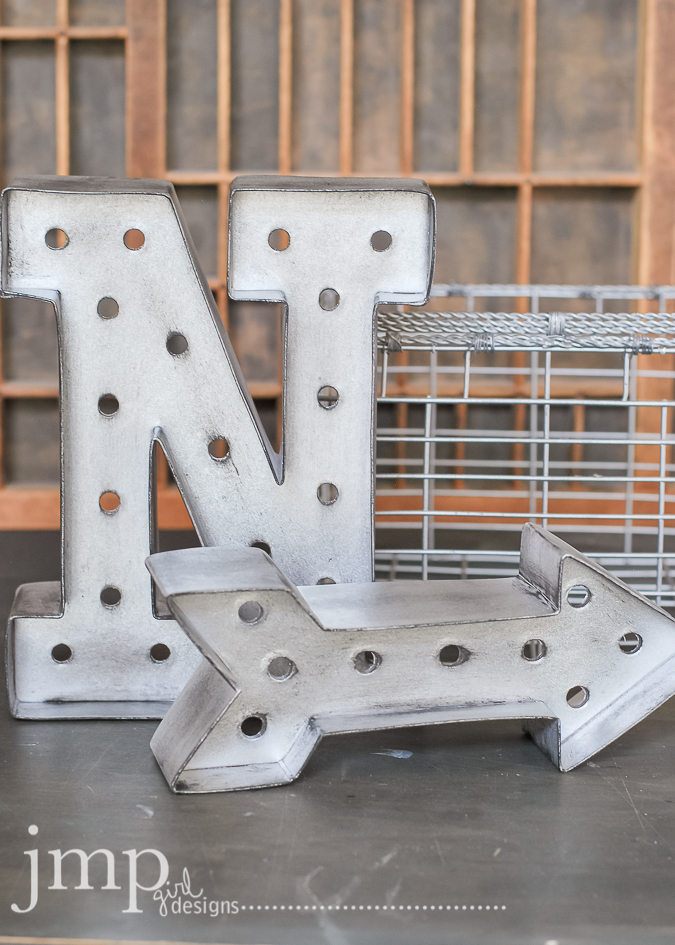
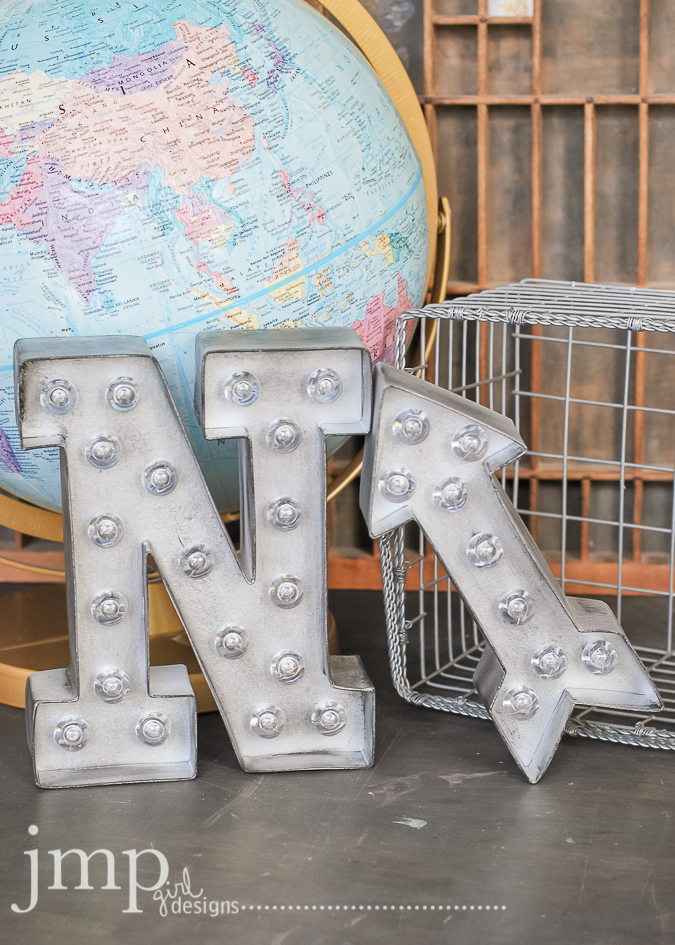
I loved how these turned out and hope you found some inspiration here today.
Would love you to link me up with the letters that you diy!
and tag me on instagram too... @jamiepate ...share what you did with your Marqee Love.
oh, I love this! it's exactly what I needed to know and it's perfection. makes my heart pitter-patter a bit ;)
ReplyDeleteI have a wall I'd love to hang these on and just add to, but I'm a bit afraid it will look like the Kenny Rogers Roasters sign that beamed into Kramers apartment on Seinfeld because I just won't.want.to.stop. :D
So, so cute! Love the gold!
ReplyDeletewhat a great outcome! i would love to have just the white ones for my house (have an obsession with whites lately. haha) ... but the tutorial will be useful for when I wanna do something fun (or get tired of the white!) Thanks Jamie!
ReplyDeleteCool nice to see some guy stuff. Thanks
ReplyDeleteSeriously amazing Jamie , I love this to bits
ReplyDelete