

newest project for paige evens + silhouette
When you over hear your daughter:
"Did you see what mom did on that last scrapbook page?"
Yeah.
You sort of beam with pride.
They noticed.

This is on not to say that it's the acknowledgement I am seeking. Nah. Not at all. OK. Well. Maybe a little?

This is one of those more intricate, detailed pages for sure. One of those pages that becomes a bit of paper therapy. Creative therapy if you will. Going through repeat motions placing piece by piece down on the paper. While it took a bit of time to recreate the ampersand on the 12x12 page, I actually
found it a quiet and enjoyable time.

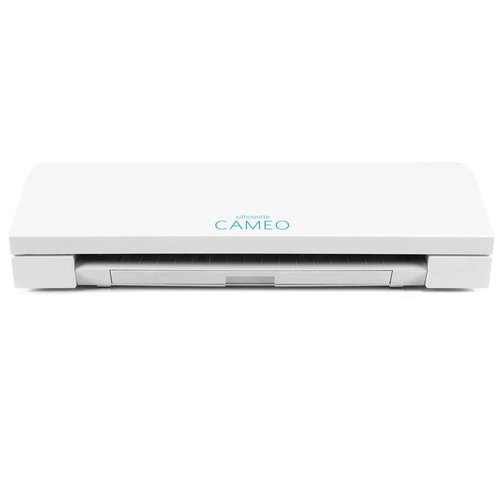
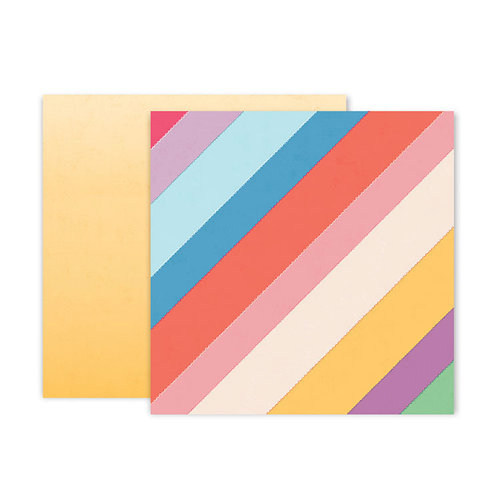
Starting with this ombre pattern paper (supplies will be listed below) and the Flower Ampersand from Paige Evans, I cut the file on a full 12x12 page.

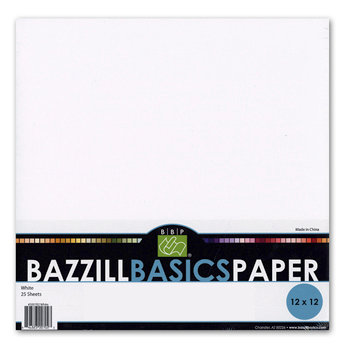
I pulled the positive cut off the Silhouette mat. This was then laid over the white 12x12-inch cardstock.

Using a Silhouette spatual to pull the individual pieces of the ampersand off the mat, I then used tweezers to add glue and place them back inside the pattern attached to the cardstock.

Gently pulling the positive cut back off the cardstock I was then left with a beautiful flower ampersand pattern.

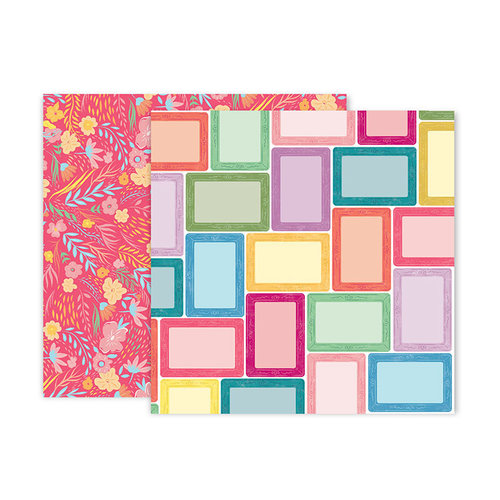
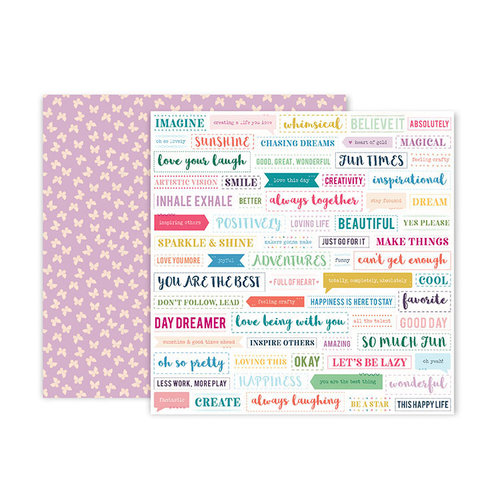
Staying with the yellow theme, I chose additional elements from Pink Paislee Whimsical to add an embellishment cluster around the photo.

And that is how to flower ampersand a background.
supplies |
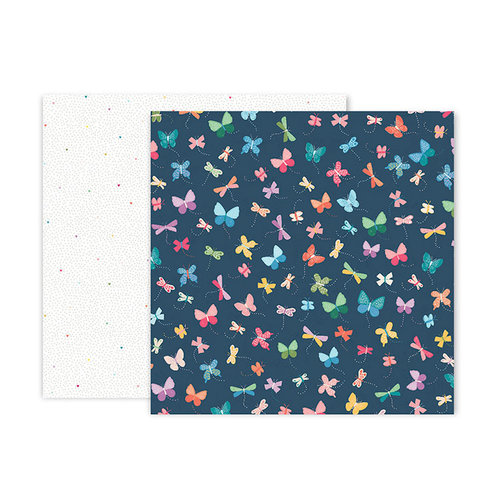
Paige Evans Whimsical Paper Line


Paige Evans Flower Ampersand Cut File
No comments:
Post a Comment