

connecting with creativity and friends
Dear Reader,
You follow me and know my love for the concept of journaling.
Huge fan of using creativity for connection.
But also huge fan to use my creativity to connect me to life by writing my story.
And yet again, another way to share that with someone else is by making that someone a journal.
I like what Benjamin Franklin says on this subject:
"Either write something worth reading. Or do something worth writing."
Lofty goals for sure.

To create some journals to have on hand as well as to give as gifts I have gathered pattern paper. Tags. Twine. Cardstock. Copy paper.
Stamps. Inks. Dies. You know...a few of my favorite things.

This pad is available at JoannStores and you can link to it right HERE.

The idea was to create a journal cover with the inside page acting as a border to the pattern paper. I like how the inside paper peeking out gave a 'pop' to the patterns used for the journal covers.
The pattern paper was cut to 7.5-inches tall. Folded in half. Then trimmed on the open edge .75-inches. Now we have a journal cover that measures 5.25 wide and 7.5-inches tall.

I prepared white cardstock weight paper by folding an 8.5x11-inch sheet in half. This left me with a 5.5x8.5-inch folded journal inside page. (I ended up cutting off the extra .5-inches on the height so that now it measures 8-inches tall.)

One last paper to prepare: for the inside writing paper, I used smooth copy bright white paper. This was also folded in half along the long edge. Then it was trimmed so that it was 7.5-inches tall. And 5.25 inches wide.
Now put all the parts together and let's bind these journals.
 |

I placed the copy paper inside the white cardstock. Then that was placed inside the pattern paper cover. Then I placed the fold into the Book Binding mechanism. Using the middle black cirlcles, I counted down 4 spaces and poked a single hole. Then from the bottom I counted up 4 black circles and poked another single hole.
I 'sewed' twine through the binding to fasten the pages together.

I did this for five journals. This is such a simple yet elegant way to bind a journal.

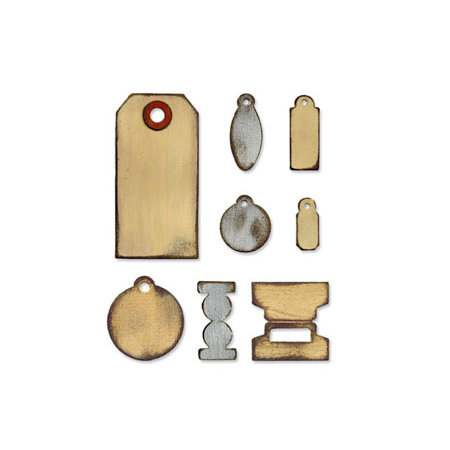
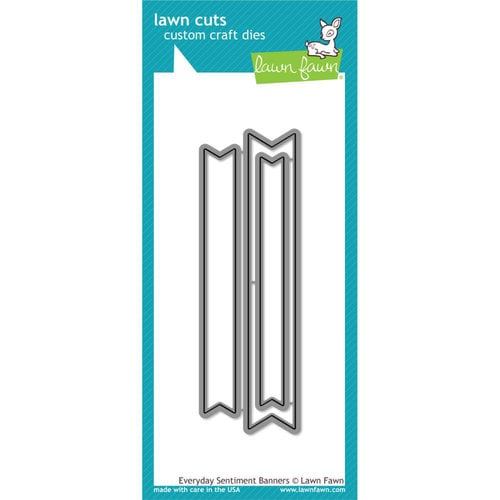
I took more pattern paper and crafted a notched tag and added a stamped sentiment to the tag with more layers of labels and die cut leaves plus a larger tag.

On the inside page I repeated the same embellishment technique.

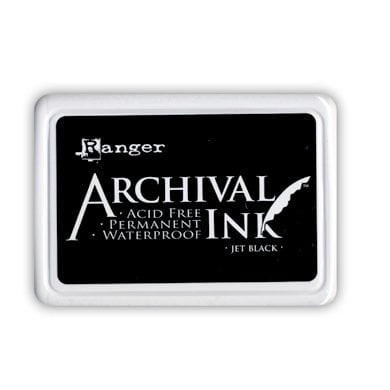
I loved mixing the patterns from the Faded Floral paper pad. And then that pop of black from the label stamp as well as the sentiment stamp really set the whole thing off for me.

While this is a journal for plenty of space to write, I added one other embellishment element to one of the inside sheets.

Having a pattern paper pad takes the guess work out of mixing and matching patterns. They just all work so well to create a put together look on any paper craft.

Be sure to check out JoAnnStores and pick up this and other seasonal premium paper pads.
For the other supplies used in the crafting of this journal see below.
Here's to making pretty stuff. Enjoying your own creativity. And connecting with others by way of your hand made love.
supplies:


YEEESSSSSSSS! Love this idea for a 'gratitude' style journal. Great inspiration Jaime - thanks so much for this awesome idea!
ReplyDelete