

fall card making tutorial

Today I want to share with you a great stamp and cut bundle available at The Stamp Market.
You may recall this post I published HERE using this and several other items available from the The Stamp Market. These stamps are quality. And the dies to go with are perfectly arranged to make for many card making possibilities.
 |
| Lots of Leaves Stamp Bundle |
Today I will be using the Lots of Leaves Stamp Bundle as the foundation for these cards I am about to show you. Along with this Stamp and Cut Bundle the supplies I used also include:
Bloom Stree Patterns
Leaf Stencil
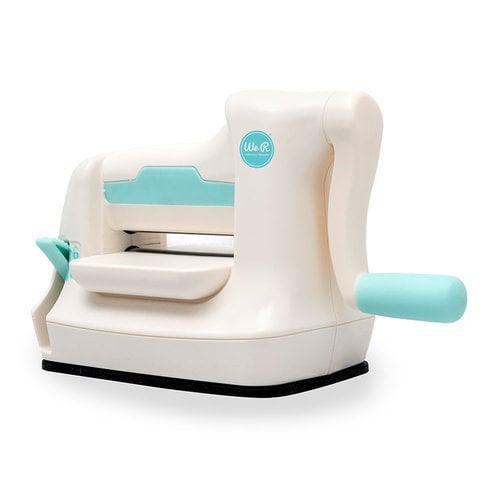
Large Leaves Die
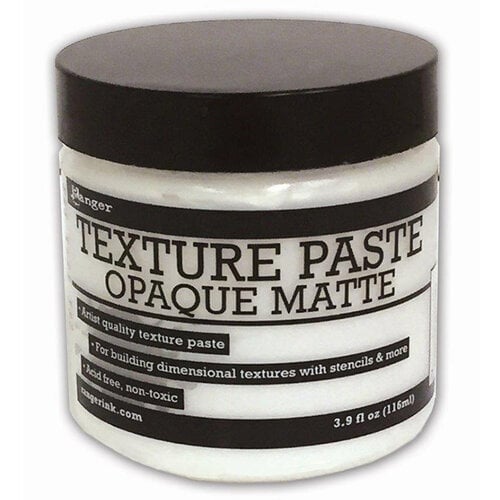
and my favorite Texture Paste

This is a personal blog. All editorial content and projects are intellectual property of jamiepate.com I do receive financial compensation and material product and affiliate sales in the development and posting of my craft posts, but all ideas and opinions are my own.
These cards are a variation on a theme. Just one of the techniques I use when I am crafting more than one card. I like to use just a few supplies, and see how far I can take the scraps and cut offs and the same stamp and die.
Let me show you how I used the Lots of Leaves Bundle several different ways on these cards.
All card dimensions are 4 1/4 wide x 5 1/2 tall

This is the card that started all the inspiration.
First the card base was covered with black and white striped paper.

Then white cardstock leaves were cut using the leaf die. The leaves were stamped with the Lots of Leaves stamp.
'Thankful' was die cut out of white cardstock.
The cover was sized to cover the front of the card, but to also let the black and white stripes shine through.
The die cut opening was backed with pattern paper and adhered to the card base.
Then the leaves were popped up with pop dots to finish the card.

The next card uses the striped paper from Bloom Street Patterns. I used a ruler to tear each stripe of color evenly. Then adhered to the cardstock card base. Using adhesive only in the middle back helps the paper strips to just sort of float on the card base.

Using the Large Leaves Die I cut a single leaf out of my favorite cardstock. Then the 'thankful' die from Lots Of Leaves Bundle was cut out of the middle of the large leaf. I stamped the 'thankful' stamp on clear acetate and adhered behind the leaf with the stamped image lined up inside the die cut space.
Using gold thread I wrapped the leaf and tied a bow. Adhered the die cut leaf to the card. And card number two is done.

Sometimes the simplest cards are the best...

On the cardstock base I added a mat of white textured cardstock.
Using a scrap from where I previously used the Bloom Street Pattern Paper, I made a little tag, with a punched hole, and gold thread tied to the top. This was adhered with a pop dot to the card.
Using the Lots of Leaves Die I die cut a leaf out of pattern paper. This was also adhered to the top of the scrap paper tag.
'Thankful' was stamped to the card cover below the tag.
And that is how easy it was to make card three with the Lots of Leaves Stamp Bundle.

The last two cards get a bit more technical. But like the others, these are just still variations on a theme. The only addition here was using the Leaves Stencil and my most favorite Texture Paste.

This card takes after card #3 with the pattern paper scraps that I made into the three panels.
But first, the card cover was made by spreading the Texture Paste over cardstock through the Leaves Stencil.

Allowing the paste to dry really well, I then added the three pieces of pattern paper to the card surface. That was wrapped with gold thread.
'Thankful' was die cut and then stamped to be used as the sentiment for this card too. Using a bit of hot glue on the back of the die cut word enabled it to be adhered to the scrap papers.

This card goes about like the card ahead of it. Stenciled texture paste on white cardstock. Then a panel of smaller striped Bloom Street Paper attached to the left had side.

For the embellishment cluster I crafted two tags from Bloom Street Paper, punched a hole in each, and tied with gold thread. Each was positioned with pop dots in such a way that you can see both patterns of paper.
Two leaves were cut from Bloom Street Paper with the Lots of Leaves Die. These were tucked under the tags, and that is the last card for today.

What I love about this card making technique is that it fosters more ideas on how to craft variations of a card using similar supplies. This enables several cards, of course, to be made in a small window of time. Plus, it makes for a great creativity exercise that allows play and time to inspire new ideas for your card making. I hope you will give these techniques a try and then send out those cards and share a little kindness with another human.
Additional supplies used:


No comments:
Post a Comment