

texture paste technique + scrapbook page
This post was originally for the Paige Evans + Silhouette Design team and can be found HERE.
Recently I confessed to a class I was teaching that I really did not have a whole lot of scrapbook product in my space. My space is a multi-use room in the very center of our home, so I have to always cull and de-clutter the stash. But that's a post for another time.
My point is that I only really have product that I love.
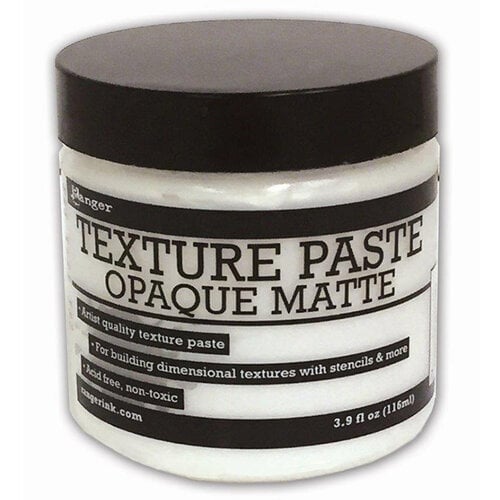
And this is one of those products:

I. Love. This. Ranger Texture Paste.
It has great hold up texture.
It dries super fast.
It takes color beautifully.
And most of all (bonus), it provides beautiful texture behind large scale cut files.

This is a personal blog. All editorial content and projects are intellectual property of jamiepate.com I do receive financial compensation and material product and affiliate sales in the development and posting of my craft posts, but all ideas and opinions are my own.
As I was thinking about this next layout for Paige Evans + Silhouette Design team, I knew there was going to be a large centered cut file. I knew I wanted to stay with these brighter colors I have been using for her projects. And I also knew I wanted to pull out an old favorite...texture paste.

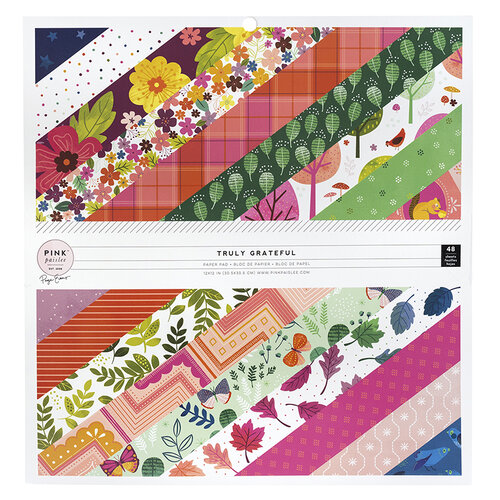
The cut file of choice this time is her Today Is A Good Day To Have A Good Day. I have wanted to use this cut file for some time. You can find it HERE on her Silhouette page. I sized it down to about 7-inches wide. I cut it out on THIS Truly Grateful Paper No 10. And I layered that pretty cut right over the textured background.

I like to use a pen tip liquid glue for adhering these smaller lined cut files. Glue is placed randomly on the back so that it is not completely glued down flat. You know that technique I am always talking about, right?

The next step I took to building this scrapbook page was to choose a background mat. I usually do this very last. But this time I needed to give all the white a base. Plus the color of the cut file needed an anchor. So I found myself reaching for the mat pattern paper at this point. There is not 'usual' method to creating a scrapbook page. Sometimes one just needs to go with the next need.

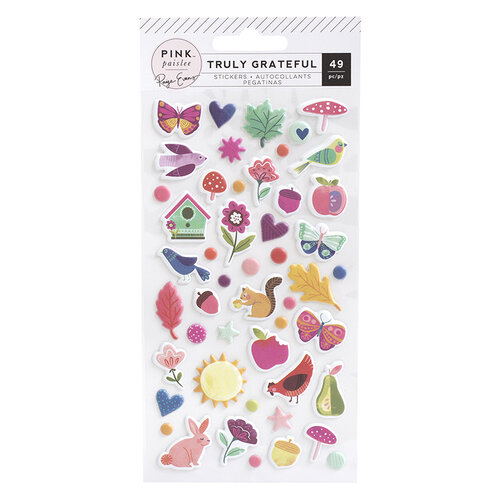
The next process for this page was to add in the photo. This is a page about me. I do not do these too often. But feel as though I should. Our story needs to be written too. The photo was embellished with addtional scraps or pattern paper. Plus I die cut small flowers from that plaid Paper No 12. Truly Grateful includes a collection of beautiful sequins. I put those embellishments to work on this page too.

To finish this page was to embellish the cut file.
This was done by popping up Floral Die Cuts. Then layering Puffy Stickers underneath the flower. I finished this look by cutting Paige's Branch cut file in white. These layers really made me happy. I felt like my photo was agreeing with the vibe of my page.

And that is how I build a scrapbook page with texture paste as the base and background.
There are many variations this technique could take. There are lots of color variations this could take. But there is only one YOU to tell your story. So no matter the technique you do or do not employ on your scrapbook page, just make sure your story is being told. That's what matters most.
supplies | Pink Paislee Truly Grateful

Scrapbook.com

Scrapbook.com

No comments:
Post a Comment