

how to document a planner week

It's the beginning of the month.
It's the last 60 days of the year.
2020 is just around the corner.
And maybe you find your self a little, shall we say, behind? in your planner.
To which I reply...are we ever really behind?
Well, let me ask you this:
Are you a fill in every day as you go planner?
Or are you a sit down once a week planner?
If you are the latter, this post is for you. Because honestly, I do not think all of us are filling in our planners like we really want...and that's daily...for me, I tend very often to gather all the things and then have one planner sesh at the end of the week. And frankly, I really like this approach.
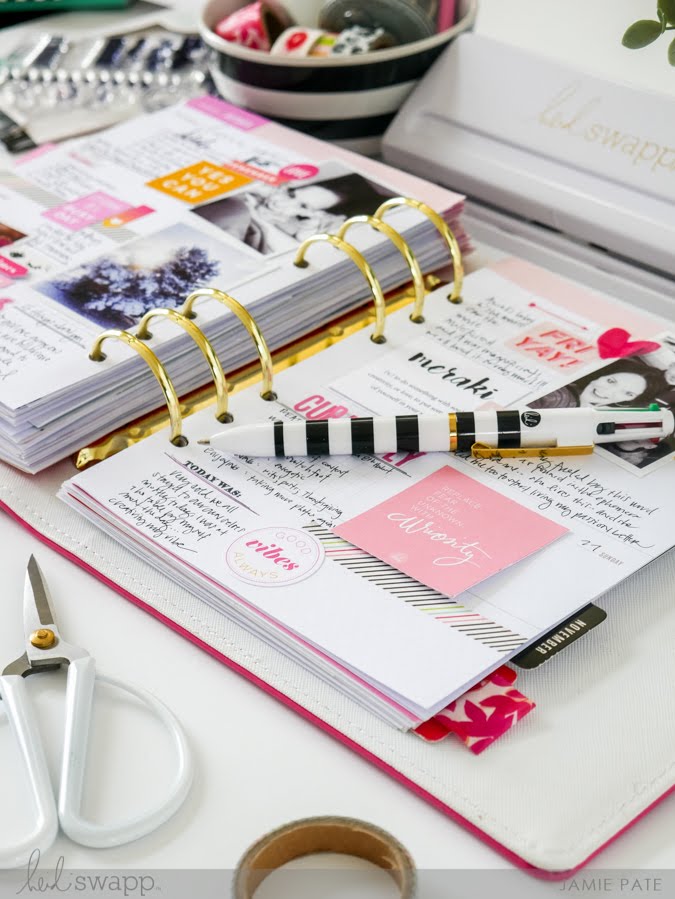
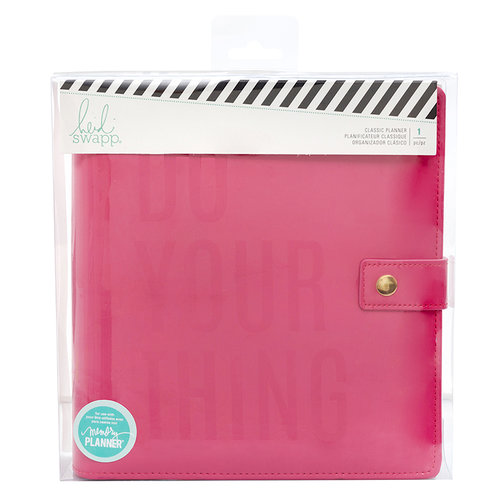
Using the Heidi Swapp Color Fresh Classic Planner, which is what I have used all this year, let me show you some ideas and tips to for documenting a week at a time in your planner.

This is a personal blog. All editorial content and projects are intellectual property of jamiepate.com I do receive financial compensation and material product and affiliate sales in the development and posting of my craft posts, but all ideas and opinions are my own.

Of course I am starting off with a blank weekly spread like this one here. I started adding some notes, but that started to throw me off. So let me start with my process.

I start with photos and printables first. I peruse my camera roll on my phone. I send to my computer the photo that best represents a day, if in fact I took a photo that day. And then I print at home.
These photos shown here are 2-inches wide. Which makes them about 2 1/4-inches long since I tend to shoot in portrait ratio. Sometimes I print square 2x2-inch photos. Sometimes I print 1-inch strips of photos. But mostly this is my go-to photo printing format.
Then, I also print screen shots I have captured during the week. These are usually Instagram quotes or other quotes I have come across in a day that spoke to me. I like to screen shoot the image. Print to 2x2. And add to that day I found it in my planner. I really like this addition to my planner week.

The next thing I do in this planner sesh workflow is Monday. Now, granted, very often this day is actually filled in on the day of that week. Because Monday is about over view. I like to make a list of the things that will need to be accomplished or given attention in my week. The Memory Planner Clear Stamps come in handy here. I love to use that DETAILS stamp to bring attention to this part of the week and day.

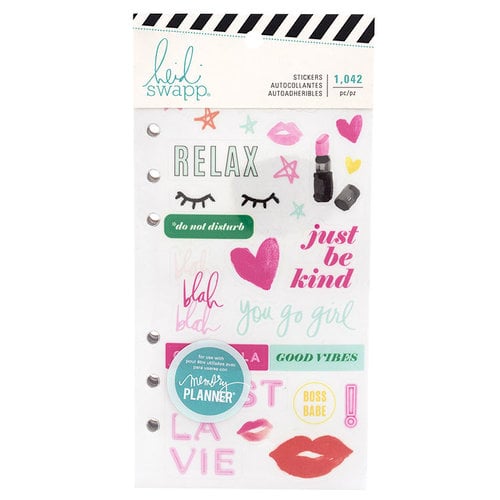
Daily details come next. Most often inspired by the photo I chose for that day, I write bullet point journaling or even regular journaling in response. Sometimes it's just word/phrase stickers that fill in a day. This is all very fluid for what one wants to record in their planner. But as you can see, the week is rounding out nicely.

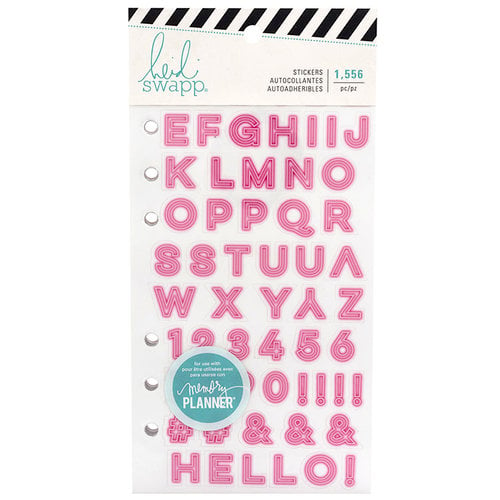
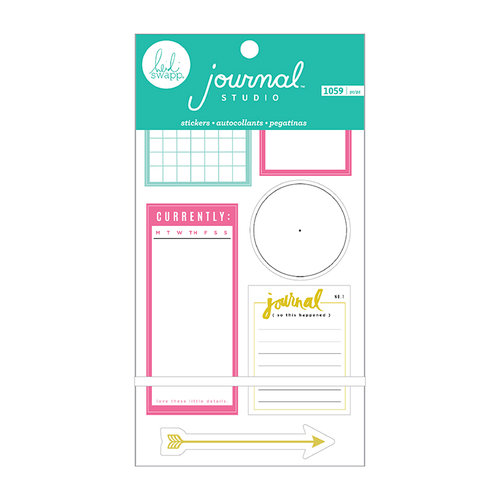
Something sort of new to my weekly process is to include a CURRENTLY list. Using Journal Studio Sticker Book letter stickers I give this space a title. Then I list what I am currently reading, watching, making, listening, feeling, planning, and enjoying. This is going to be a bonus of information to go back and read in future years.
Finding a weekly planner work flow has been super helpful for me to stay caught up in my planner. It works every time. I know what to do from step to step. And it creates a wonderful full and meaningful planner week for me to refer to again and again.
On my YouTube channel I have published a Planner Tips and Ideas video that goes into more detail for this page spread. Plus a bonus lesson on how to format the embellishments in a balanced way.
Hope you will check that out:
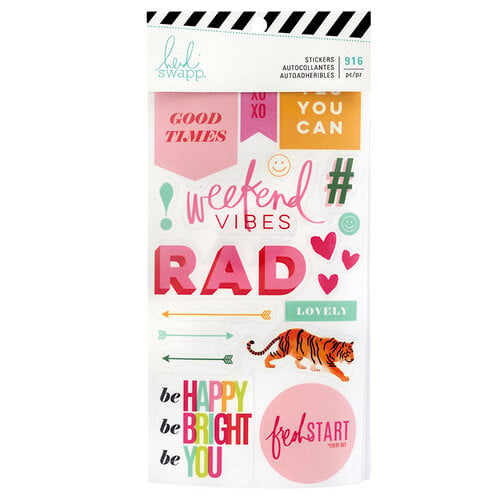
supplies | Heidi Swapp Memory Planner Collection
Scrapbook.com


No comments:
Post a Comment