

celebrating Kerri Bradford Studios birthday
I am so fortunate to have met some amazing people in this memory keeping world. Kerri Bradford is one of those creative people who is first kind and considerate and full of love for life.
She asked me to be part of a month of posts on her blog celebrating her shops birthday. You can see that post HERE. Be sure to check out the other paper crafters who are also sharing their gifts with Kerri this month.

While she says awesome things about me over on that post, you are free to go read about all that and check out all her beautiful products. But if you would like to see a step by step of how this Home Storyline Chapters page came together be sure to come back right here for that.

First I used her Borderlines Stamp to play with a subtle background idea. You can see on this page where I played with a couple of different ink colors. I knew I was going to have photo and what not covering that part of the page. But I was not sure how the stamp colors were going to play together. I finally decided to use the Hickory Smoke Distress Ink to ink up the cross stamp from the Borderlines Set. I like how it added in a great designer feature to the background.

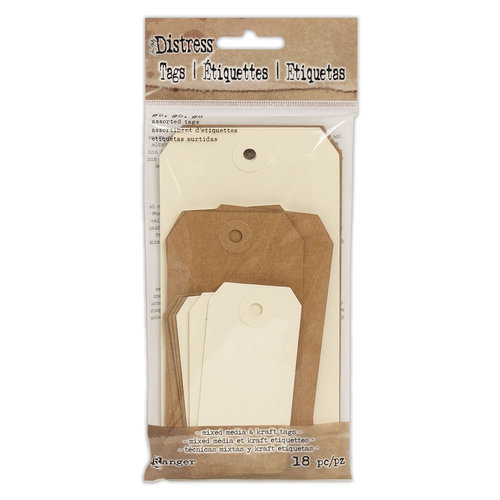
Next I added in a Ranger Tag to be the base to my layering. I like to have a background feature that is 'heavier' than what will be layered on top of it. The tag adds a modern edge to the page too. I also added in more of the cross stamp this time using the Distress Oxide in Tattered Rose. That oxide is beautiful on the kraft paper.

Next was my photo. A picture of our house in early April. Where we (well those of us not working outside the house) were living all our early Covid moments. All the time. Ha!
Anyway, I actually really love this photo as it shows how bare everything is before spring sprung with all the greenery that that brought.
The photo is about 3-inches wide with an additional border. I print at home using THIS printer.
OK...next:

Another tag. I am a little bit on a tag thing currently. Premade tags are found in plenty in my stash. Like the Ranger Tag that is the page base. But then I am also making my own pretty often.
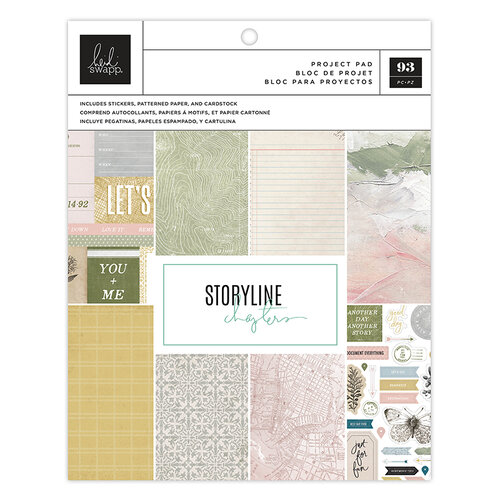
The ledger tag here is made from pattern paper found in the Storyline Chapters Journaler Project Pad. It is v-notched at the bottom edge. A 1-inch cirlce was punched from a scrap of pattern paper. That was then folded over the top with twine added through a punched hole. That is all I did to create that tag.
NOTE: as usual, when I adhere an element to my page, I am almost always adding adhesive to the back center of that piece. For example the photo that is already on this page, roller adhesive is just added to the back and center only. That way, if I do add in an embellishment like the notched tag, it can tuck underneath easily.

OK. This next embellishment is going to need it's own post. The camera is the Kerri Bradford digital Digital Stamps: Iconic.
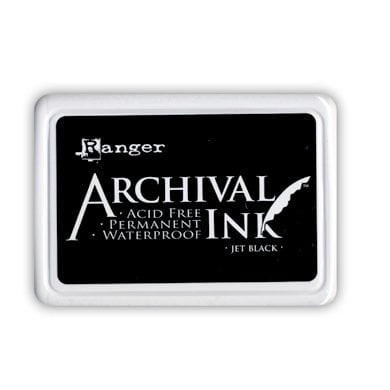
What I did (and I do not currently have step outs) is I cut the camera on my digital cutting machine using Ranger Watercolor Paper. That is a nice thick and textured paper. I cut that three times. Then I inked one of the cameras with Black Archival Ink. When that was dry, I layered and adhered the camera cuts together. This creates a sort of DIY chipboard embellishment. You can do that with any of the Iconic icons.

A couple of additions can be seen in this above photo.
First, I made a phrase embellishment with the Block of Headlines Stamp. As of this writing there is only one stamp set left. It's a favorite. I highly suggest grabbing all the 'block' stamp sets like this.
As you can see on the pink paper, I stamped several sentiments from the set to create a sub-title to the page.
Speaking of title, the HOME title was created with the Brooklyn XL Outline Alpha Stamp Set. (also only one set left). Kerri has a great selection of large size alphas. You need at least one or six sets.
Did you see the white heart there next to the camera? Also from the Iconic Digital Stamp and also using the aforementioned technique.

And that's a wrap! That is how this page, step by step, came together. Now you can try.
Gather those stamps from Kerri. I have listed below additional supplies. And tell your story.
Hey friends...when you shop these links below, I receive a small kick back from your sales from Scrapbookcom. There is absolutely no extra cost to you at all! But these commissions help to cover the costs of this blog and other expenses to provide you with these and other project ideas. I want to continue to bring you FREE inspiration. Shopping these links allows me to do just that. I can't thank you enough for your love and continued support.
supplies |


roller adhesive
hole punch
No comments:
Post a Comment