

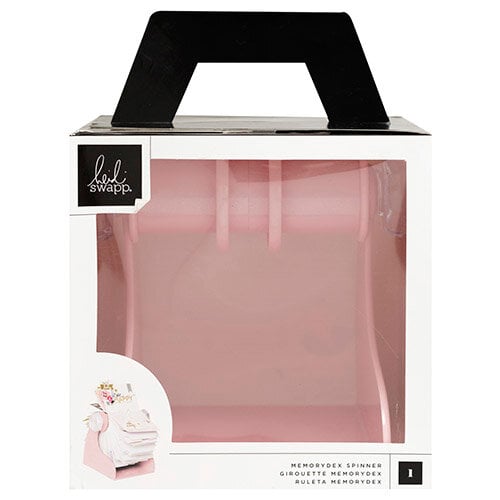
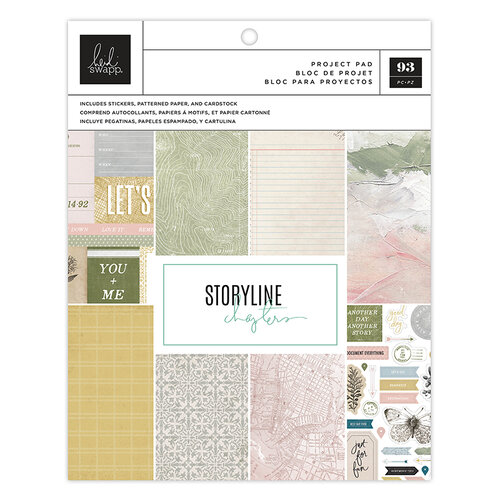
making gifts for the Blush Spinner
Last month for Christmas I was talking here about making a gift out of a MemoryDex Spinner. And that's just what I did. I bought the Spinner. Then I printed photos. Die cut them with MemoryDex Dies or the MemoryDex Paper Punch. Presented the gift with the photos on the Spinner. I think it was well received.

Now, I am making the next segment of the gift and crafting photo cards to send to my friend so she can continue to fill the MemoryDex Spinner.
What I realized as I was thinking through this gift process was that I have never actually really used photos as cards themselves. It's pretty self explanatory. Today, however, I just wanted to make a little tutorial about this process. I hope it inspires you too to make MemoryDex Photo Cards.

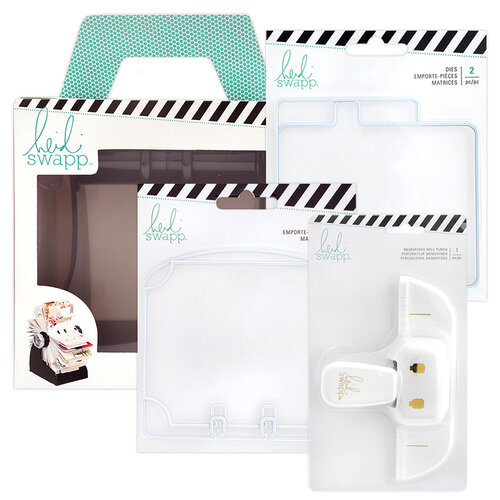
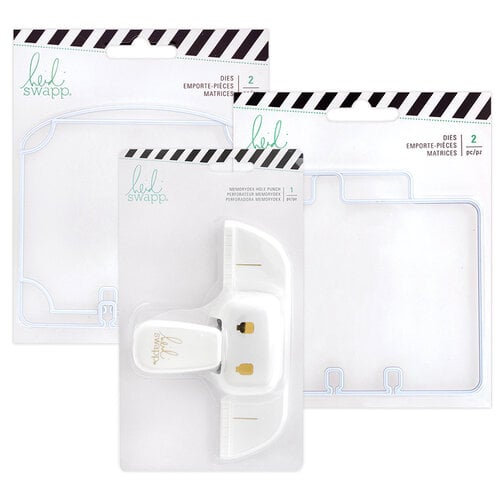
Here is what I did: First, of course, I printed photos. The main concern here was the photo dimension. I did this a of couple ways. One, I brought the photo into Photoshop Elements and resized the photo to 4-inches wide. This gives enough width to be able to use a MemoryDex Die to cut the photo.
Another idea I had was to create a 4x4-inch mask in Photoshop Elements. This too creates plenty of cut space for using any of the four MemoryDex Die sizes. This also created a smaller photo to have to cut without throwing so much of it away. It was just a more economical way to format the photo.
The last idea I had was with a photo that was not tall enough to fill the MemoryDex Die dimension. In this case, I sized the landscape photo to 4-inches wide. Now I will just use the MemoryDex Paper Punch to create the tab holes. This way I can still have a whole photo fit inside the Blush Spinner.

The photo here is 4-inches wide and about 5-inches tall. Turns out it is a well formatted photo to fit beautifully inside this Die that is part of the Oval Die Set. For that matter, this photo size will fit any of the MemoryDex Die Sets.

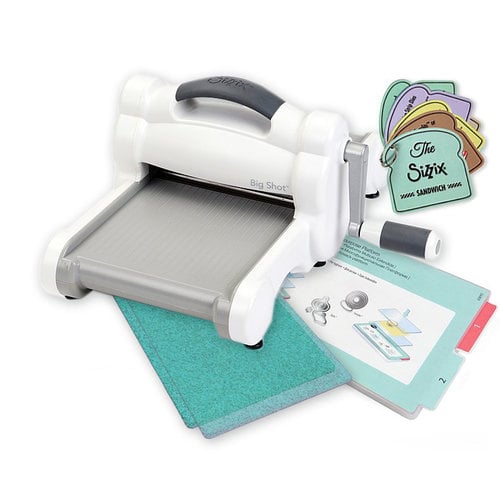
Using the Sizzix Big Shot Die Cutting Machine, the photos were cut out in the shape intended. I had to run them through the machine a couple of times. Those tab cuts can be a little tricky. Overall I am super happy how these MemoryDex Photo Cards are turning out. I will be doing this again in the future for certain.

Hey friends...when you shop these links below, I receive a small kick back from your sales from Scrapbookcom. There is absolutely no extra cost to you at all! But these commissions help to cover the costs of this blog and other expenses to provide you with these and other project ideas. I want to continue to bring you FREE inspiration. Shopping these links allows me to do just that. I can't thank you enough for your love and continued support.


No comments:
Post a Comment