

no machine Minc foiling
Have you ever wanted to
Foil Without the Minc Machine?
One of my most beloved craft studio tools is my Blush Minc Machine. I use it quite often. It has it's own space. Ready to be turned on and warmed up at a moments notice. It is definitely a go-to machine in this space.
Today I want to share another idea that does not require a Minc Machine. Yet at the same time creates perfectly foiled embellishments every time.
Perfectly foiled embellishments

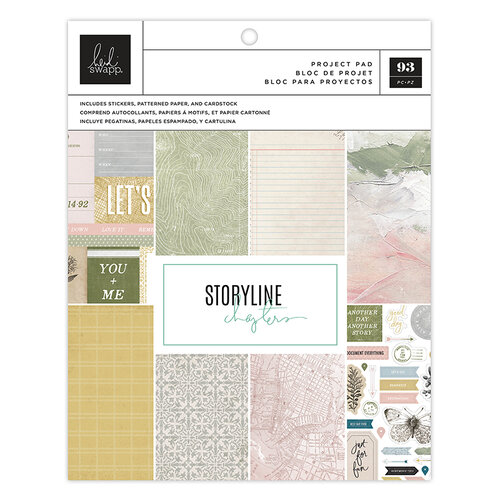
Using 2-inch double sided adhesive tape, I created these snowflake embellishments. This photo was taken recently and is part of my January Pages found in my 2021 Storyline Chapters Insert. I printed the photo about 5x7. As I played with telling this story I decided just to create an embellishment cluster only on the edge of the wintry photo.
Embellishment Clusters

I used favorite patterns of paper underneath the photo on the edge that complimented the subtle colors found in the photo. The stickers from both Storyline Chapters and Old School, also a paper line by Heidi Swapp, says all one needs to know about this picture. Beautiful. Pretty.
Simply layer pattern paper

Being the very seasonal scrapbooker that I am, I had to pull out my favorite snowflake dies and create a subtle pop of wow. Which brings us full circle to the Minc. Here's how easy it is to craft these silver embellishments:
Add wow factor with foiled icons

How to foil without a machine:
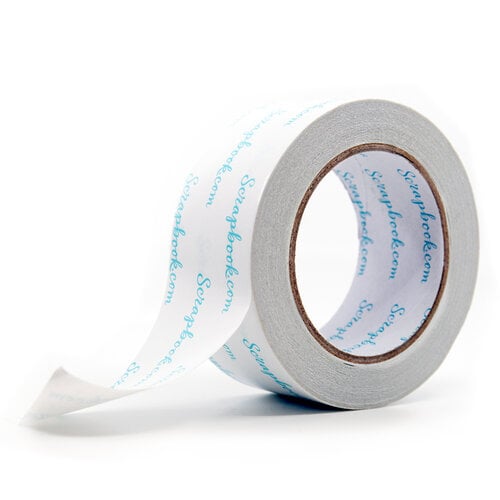
- Using the 2-inch double sided adhesive (Exclusive at ScrapbookCom) I adhered a swatch to a piece of scrap cardstock.
- Next I die cut a snowflake out of that swatch of adhesive + cardstock. You can see the middle size snowflake in the above image.
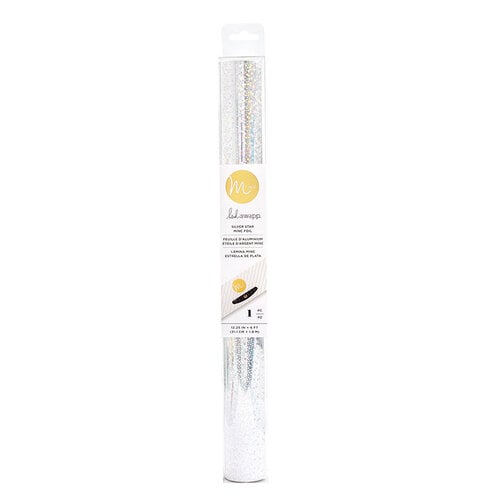
- Carefully peeling the back paper off the die cut snowflake, I then layered a piece of Silver Stars Minc Foil to the top of the 'sticky' snowflake.
- Rubbing carefully until I decided it was covered enough I gently pulled the Minc Foil away from the snowflake. Then I was left with a gorgeous and delicate embellishment waiting to be added to the page.

Minc Technique Process Video:
Foil any shape with adhesive
It was a simple as that. Watch the video here on my blog or at my YouTube Channel to see how you too can simply and easily create these gorgeous embellishments. But wait, it's not limited to a snowflake shape. Any die cut will do. The possibilities are endless for the beautiful things made by you.
Hey friends...when you shop these links below, I receive a small kick back from your sales from Scrapbookcom. There is absolutely no extra cost to you at all! But these commissions help to cover the costs of this blog and other expenses to provide you with these and other project ideas. I want to continue to bring you FREE inspiration. Shopping these links allows me to do just that. I can't thank you enough for your love and continued support.

No comments:
Post a Comment