

one way to make a journal spot
Creating weekly scrapbook pages continues to be a habit in the making. Creating an easy workflow makes the habit just that much easier. This latest layout highlights one way to craft computer typed journal spots that tell the story.

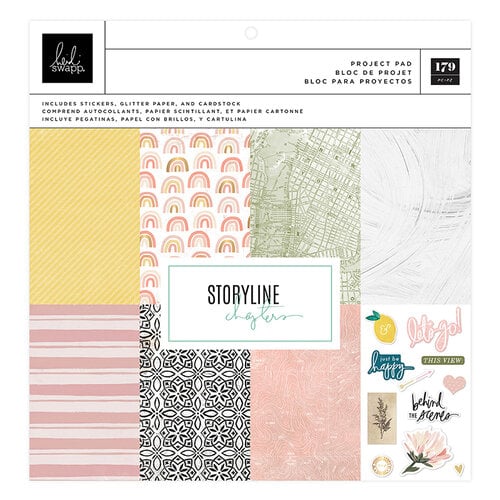
The storytelling continues in these Storyline Chapters Inserts this year as it did last. Scrapbooking a look at a week in a life on these pages has caused me to create a workflow that are helps me to keep focused and not get distracted in the process.
For review:
- the left side of the page is a grid of only 6 photos
- these photos are a look at a week at a time
- each photo measures 2-inches wide and about 2.6-inches tall
- this sketch gets repeated every week

I choose a solid paper from the various paper pads that are part of the Storyline Chapters collection. The attempt is to keep the look cohesive. I do this by choosing a paper that complements the photos as well as the rest of the page.
These little journal spots are typed on my computer. The journaling is a round up of the photos on the page. I start from the top left hand photo and work my way across each row and give a little narrative to what each photo was about. You can see I add in numbers. I am not sure that is necessary. It's just something I started doing and have continued. You know, until I don't again.

In Photoshop Elements I create a new document that is the same size as my photos: 2 x 2.6-inches. Using the text tool I create the documenting inside that sized grid. Then I print right from the document onto 8 1/2 x 11 copy paper. With Photoshop Elements the way it works is that when you print right from that smaller size page then it creates crop marks for you when it's printed.

Next I then print on the paper chosen for the page. The paper is taped down using a temporary tape to hold the paper in place. Washi will work too just be careful it does not tear the paper when you are ready to pull it off. The copy paper is then run through the printer again, and ta dah! I have a perfectly rendered and typed journal spot. I do this each week for each page. It's a way to help me stay caught up by using the same sketch and journal idea week after week.

The rest of the non-photo spots on this grid page are then embellished as well. This spot always includes the week of the year and the date of the week. And, of course, I have to make it pretty with layers of this and that.

I hope this inspires you to try and streamline your work flow for making weekly pages. Try typing your journaling and printing it to colored paper that matches your photos and color story. And may this always find you inspired to tell your story.
Great post. Do you print your photos at home?
ReplyDelete