let's make some pretty stuff
It was a snowy day...again...in April. I've just come off two of my kid's getting married within 31 days. That was a lot. Probably more than I even really realized. And I just need to get back to making.
Making moves my mind to a slower pace. It gives me pause. I can think. And dismiss thoughts I don't want to think. I can just breathe.
It came to me the topic of inspiration. Waiting for inspiration. I'm not a huge believer in waiting for inspiration. I mean, don't get me wrong. Sometimes we are just empty. And that is a thing to consider as well. I love what Tim Holtz says about sometimes just walking away. Cleaning up your studio. Or just playing.
I figured, if I experience, both the need to just sometimes make, and also sort of lacking the imagination, then others experience the same.
With that in mind, I wanted to share this post that I titled
Anatomy of a MemoryDex Card
This is MemoryDex card making 101. For beginners as well as advanced crafters. It doesn't matter either way. Let's get back to just a basic card making. I'm taking you step by step here to make a single card. Sharing my process. Hopefully you will simply follow along and make something too.
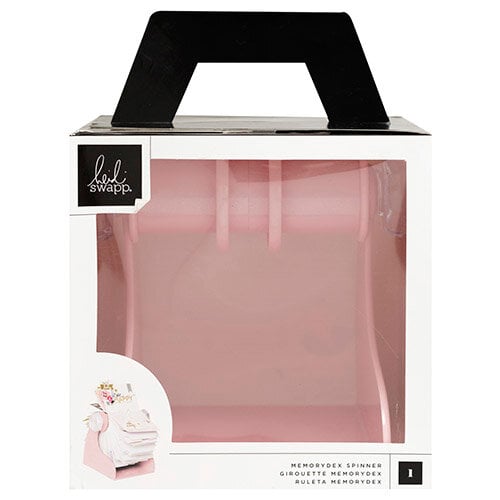
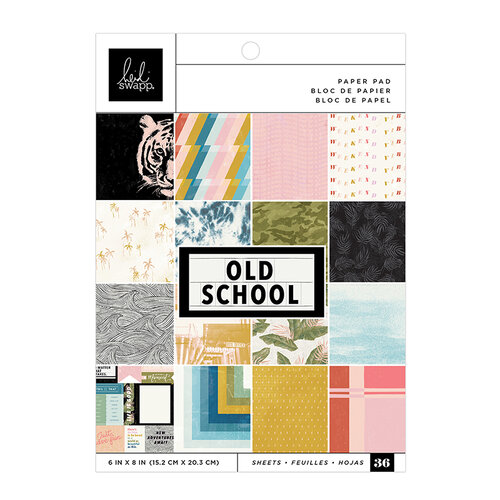
To start I decided on a scheme of papers. I am using Heidi Swapp's Old School Paper Line. Mostly because I have quite a bit of the collection here in the studio. Secondly, I like to represent all her collections in my MemoryDex Blush Spinner. This one was not on the spinner yet. So here we go.
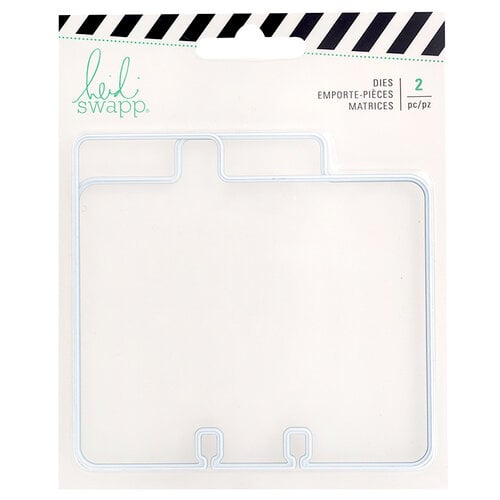
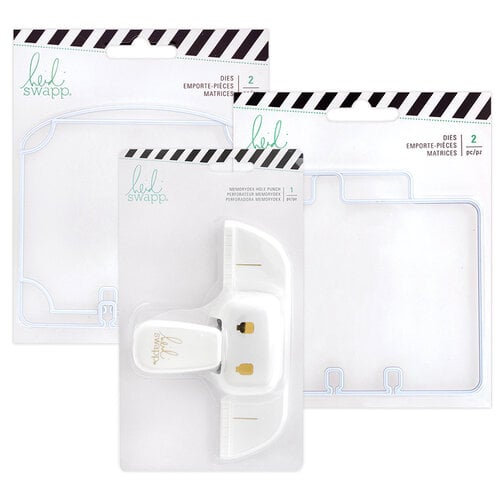
I started by cutting some papers. I used both the MemoryDex Hole Punch. Plus MemoryDex Dies. Also, I am using the cut-away paper to add cards into the Blush Spinner too. Like the "I'm Going To Make..." tag and the "Happy Note" card. Those are just punched to be added to the Blush Spinner.
But for this post I am going to share the making of one card.
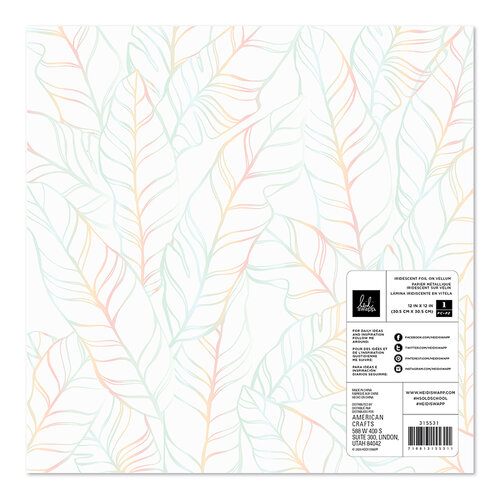
For today's card I cut the Foil Vellum Specialty Paper with the Oval MemoryDex Die. You know how much I love me some vellum. This one with a beautiful leaf motif in holographic foil is stunning.
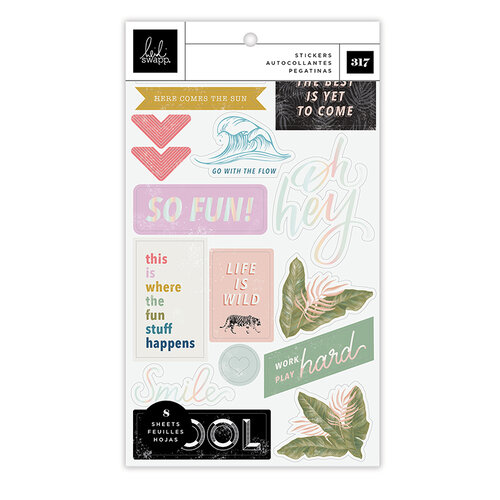
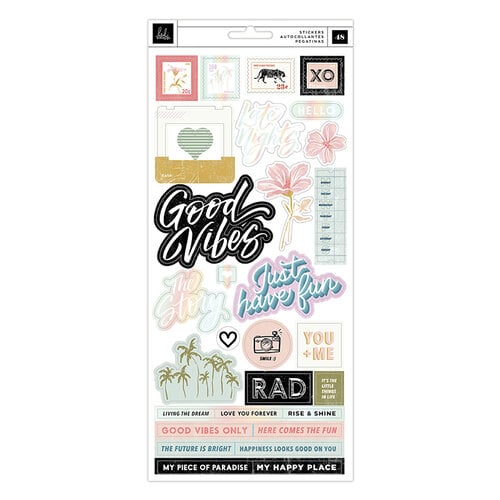
The Good Vibes is from the 6x12 Cardstock Sticker Sheet. I used adhesive foam dots to pop it up on the vellum card.
The next thing I did was take a piece of Washi Tape. I liked using the black background with the white palm pattern. I wrapped the washi tape swatch around the left edge of the vellum card. Then I flattened the tape together. Finally I notched a small v out of the end so it looks a bit like a little flag.
Also from the 6x12 Cardstock Stickers I pulled up the floral flower sticker. It was tucked under the Good Vibes sticker, but then I used a foam adhesive dot under the flower part so that it would not be flat on the vellum. Now it also pops up on the card and creates great definition.
The cardstock sticker sheet has a fabulous Rise & Shine halographic word sticker. I added a strip of foam adhesive to the underside. It now layers over a bit of the flower on the right edge of the vellum card.
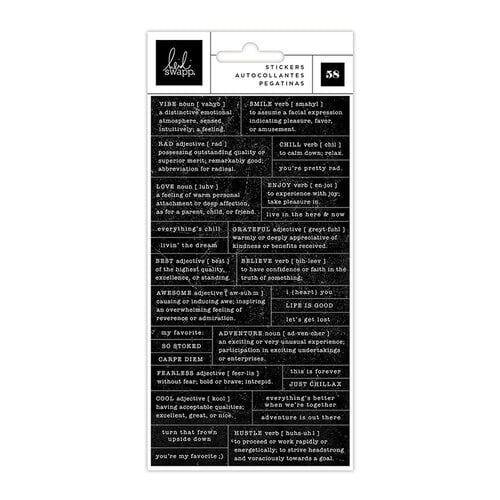
Did the same under that sticker but used one of the Old School Definition Stickers in black. I like how the black played off the Good Vibes sticker. It is a bit of solid color that helps balance out the whole card.
This card is now ready for your Blush Spinner.
That came together pretty easily, now didn't it?
I have several challenges for you now:
- now you make one. Follow along with these step by step instructions. Use what you have, but see if you can make something similar.
- now change it up. Follow the main recipe for the above card, but then change up the paper, the sentiment the stickers, the floral for a star or a heart. How many variations can you make?
Any thing made by you brings such satisfaction. Find yourself in need to make something? Lacking some inspiration? Give this anatomy of a MemoryDex card a try. Add it to your Blush Spinner for constant inspiration. And enjoy all the things made by you.
All editorial content and projects are intellectual property of jamiepate.com I do receive financial compensation and material product from American Crafts to develop my craft posts, but all ideas and opinions are my own.
***supplies***


No comments:
Post a Comment