

having a little fun
So...as you may or may not know by now...there is always a story behind the projects that are put together and then shared here.
Here's the story:

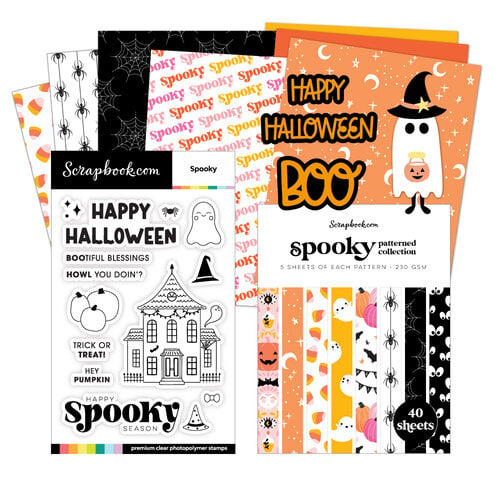
Once upon a time ScrapbookCom sent me this Spooky Kit as it was going to be part of an upcoming Spooky Bundle Livestream. (That Livestream played today and you can watch the replay HERE)
Now, when received, I pulled all the pieces together from the kit and set it aside. For later. Because there were only about 100 projects before it. OK...so I tend to exaggerate the details. Just focus on the story.
The youngest daughter of the house, who is actually going to be 20 in October, saw said Spooky papers amongst the items and got all excited, reminding me how her birthday is the week of Halloween and how cute this paper is with the pink and the pumpkins and all it's whimsicalness.
So, I made a little something something with the kit. The end.

No it's not.It's not really the end. Let me share now with you, after having just read that riveting story, 5 ways I used pretty much just only the kit to embellish the little something something that I made for that Halloween birthday girl.

1. Stamp sentiment on scrap piece of paper. Trim. Notch. Staple to a label.
Now. These ideas are not brand new to anyone. But this is what I often find: sometimes we just forget the easiest ways to go about creating with our mini kits or stash. This Spooky Mini Kit comes with a stamp set. There are some super sweet sentiments included. I just want to remind my friends to use those sentiments as sentiment strips as another way to stamp on a project.

2. Hand cut pattern papers into freestyle shapes.
This could be a circle. A square. Here I cut a heart. The heart was cut from the fun orange gingham pattern in the Spooky Paper Pad. The heart now makes a surface area for this embellished cluster on the front of this tag mini. A freestyle circle could have been just as cute.

3. Die cut elements and layer on another die cut.
Now this idea here basically comes straight out of the Embellished Clusters 101 tutorial. For the back of this acetate page, I die cut three elements from more of the paper from Spooky. The Boo and the Jack-o-lantern are dies from the mini kit die set. The Boo is adhered with a very thin strip of double sided foam tape. The little pumpkin is adhered with a dot of glue so that it just barely hangs and hovers over the Boo cut. Just another way to stretch these pieces.

4. Fussy cut motifs from pattern paper
In the above image, do you see the trio of colorful pumpkins? That was fussy cut from the pattern paper. This is always a fun and easy embellishment trick. Take a look at your patterned paper. Is there a motif that can be fussy cut and layered over other embellishments? It's a great way to use patterns in a different way.

5. Use PART of a stamp sentiment to embellish a photo
Back to the stamp from the kit. Do you see that Happy Halloween sentiment on the stamp set? I just used the HAPPY portion to add a word element to this photo and cluster of embellishments. This is something that I am now in a habit of doing with my stamp sets. How can I take advantage of the set and make it say even more? This is just one way.
That's my story. And that is my project. And there are some ideas for you for using this mini kit, or another mini kit, or your stash, for goodness sakes, to create easy embellishments for you pages.
SUPPLIES listed here:
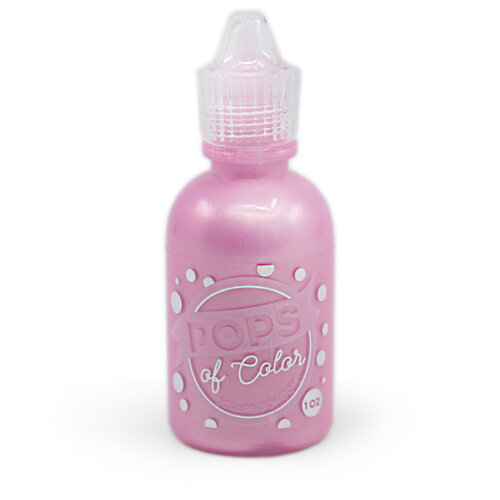


Jamie I love this and as always all the color! Question= the pink dots I am seeing is that a clear sheet that has pink dots? And the stripes on the sides of the coin envelope is that washi tape? It appears you made a pocket to slip the photo into. Which layer is the pocket?...oh heck just do a make video of this one!!! Beyond obsessed with it my friend❤
ReplyDeleteI did make a video. Then I had some weird technical difficulties. And then I have not got back to it. But yes, ma'am! On it!!! LOL!!!
Deletevan
ReplyDeletekastamonu
elazığ
tokat
sakarya
70HT
https://titandijital.com.tr/
ReplyDeletetrabzon parça eşya taşıma
zonguldak parça eşya taşıma
kayseri parça eşya taşıma
edirne parça eşya taşıma
SWUTQB
BAC1F
ReplyDeleteÇankırı Şehirler Arası Nakliyat
Afyon Lojistik
Nevşehir Evden Eve Nakliyat
Urfa Şehir İçi Nakliyat
Eskişehir Parça Eşya Taşıma
Malatya Parça Eşya Taşıma
Muğla Parça Eşya Taşıma
Silivri Fayans Ustası
Bitlis Şehirler Arası Nakliyat
0130A
ReplyDeletebinance komisyon indirimi %20