

Welcome to our first Work Space Wednesday of August 2023.
It's been a minute since I focused on a Work Space kind of post. But here's what's happening in my space currently.
As you may or may not be able to tell, this girl likes to exercise her creative soul in many areas in life. Whether it's planning a party, preparing a meal for friends and family, or, of course, making stuff here in the studio. The making does not stay in it's lane very well. While for a bit I use to fight that, I am here to not fight that so much anymore.
With that in mind let me share with you a very bright and colorful inky idea. Because for August, color is the thing!
Today's tutorial is going to share an inky technique that will then create fun backgrounds for die cutting into shapes to use in your paper projects.
You can find all the Work Space Wednesday post's HERE.

First, let's start with a blank piece of watercolor paper. Here I am using Ranger Distress Watercolor Paper. It's an A2 size heavy cardstock weight. But one can use any watercolor paper. I have even tried this technique on a much larger sized paper which in and of itself was fun.
Hey friends...when you shop the links in this blog I receive a small kick back from your sales from ScrapbookCom and Heidi Swapp Shop. There is absolutely no extra cost to you at all! But these commissions help to cover the costs of this blog to provide you with project ideas. I want to continue to bring you FREE inspiration. Shopping these links allows me to do just that. I can't thank you enough for your love and continued support. Also, the opinions expressed in my blog and my YouTube Channel and all social platforms are independently my own.

Second, we want to build some color on our watercolor paper. There are myriad ways to do this. For today's how-to I am using Distress Oxide Ink Pads. Smushing the ink onto my silicone mat, because it cleans up so quickly that way, I then add spritzes of water. Then the paper gets 'smooshed' into the ink. I then may add more sprays of water to the paper. The building part comes in by adding several layers of ink. I started with Dried Marigold. Then added in Fossilized Amber. After that came a layer of Worn Lipstick and then it was finished out with Kitsch Flamingo.
This part of the exercise, well, actually all of the parts of the exercise, is suppose to be fun. So just have fun with it. And learn the technique as you go.

After adding layers of ink then it's time to add layers of stenciled color.
I used several of my favorite stencils. And for each stencil application I used a different color of ink. And can I just tell you, those new Blending Brushes from ScrapbookCom are amazing! I love them so very much. Especially for blending color through a stencil like this? Absolutely fabulous. They blend like butter. Then I just blend the color off on a scrap piece of paper before going to the next ink color.

Not only are there layers of ink smooshing plus layers of stenciled color, now you can even add layers of stamped images.
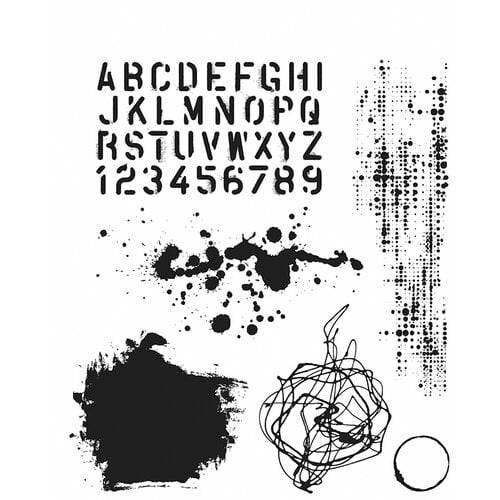
If you watched one of my recent videos on clusters you saw that I reached for the Stampers Anonymous Grunged Stamp Set. Um...love that set. It's so useful especially for a technique like this. Just love the sort of abstract images that can add to the fun color way of the inked background.

Now comes the fun part. Let's die cut this work of art up!
This was the whole point of the matter. To die cut the abstract backgrounds in fun shapes. Use them now, or use them later. I'm a gonna use them later. Wait till you see what I came up with. You could even go back on these larger die cut pieces and add this and that if you wanted. I was so tickled by what I came up with that I just let them be.
Now. This background technique is not necessarily a new one. You have seen Tim Holtz videos with how-to's for backgrounds. This one here adds in additional elements like the stenciled color, as well as the addition of stamped images. Skies the limit what you could add to your background.

This is just one way to put those Blending Brushes to work. Be sure to stay tuned as there are sure to be other ways to put them to good use on the paper as well.
Hope you are inspired to make you some of your own artsy die cuts from inked backgrounds. Let me hear from you when you do. Love to know how it turns out for ya.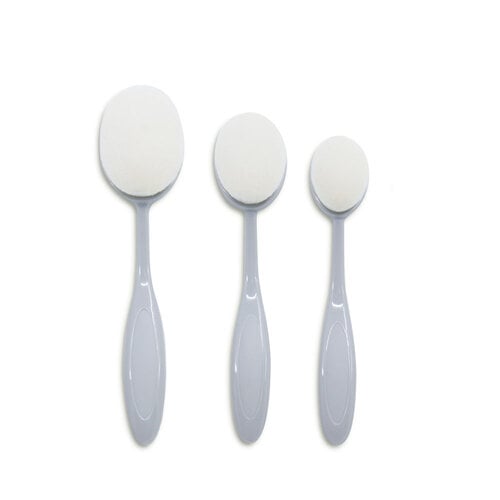

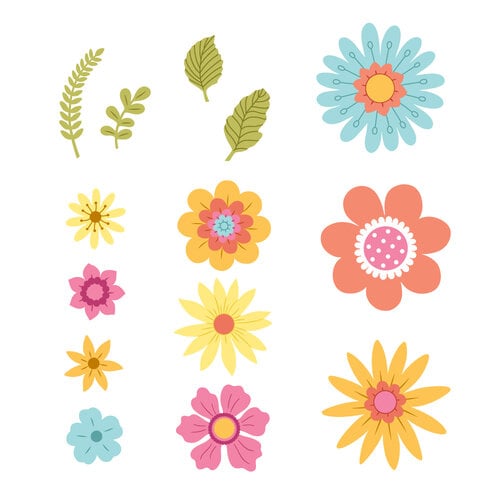

Loving the layers of color. Making your designer paper!!😊 I do something similar but not as many layers of color and I keep them on hand to cut florals, butterflies...those little special add one. Great post!
ReplyDeleteHey hey! Thank you so much for stopping in. Yeah. Not a new concept at all. But a fun one to be reminded of. Thank you for sharing!
Delete