let's celebrate!
I think it was actually the Heidi Swapp herself who said that it's birthday cards, tags, and gifts we makers make most of all. And...I think she may be right on that.
And what do you know? It's her birthday too!!! The birthday declarer and maker extraordinaire is celebrating a birthday today.
Do you know what it is to try and make something for that illustrious maker? It's no easy task, my friends. But, one who is always up for a challenge, I did my best and made a thing.
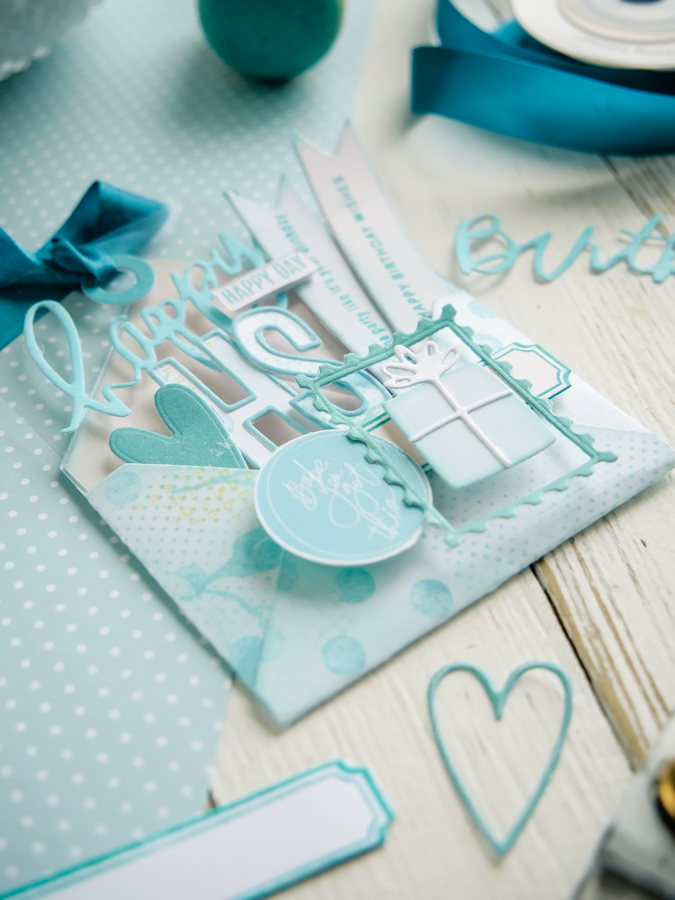
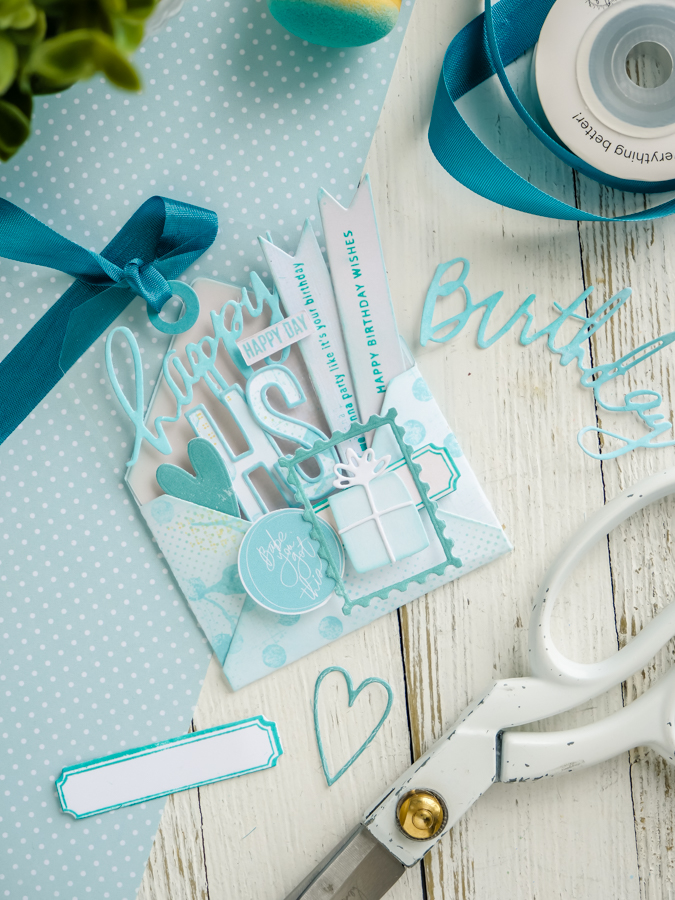
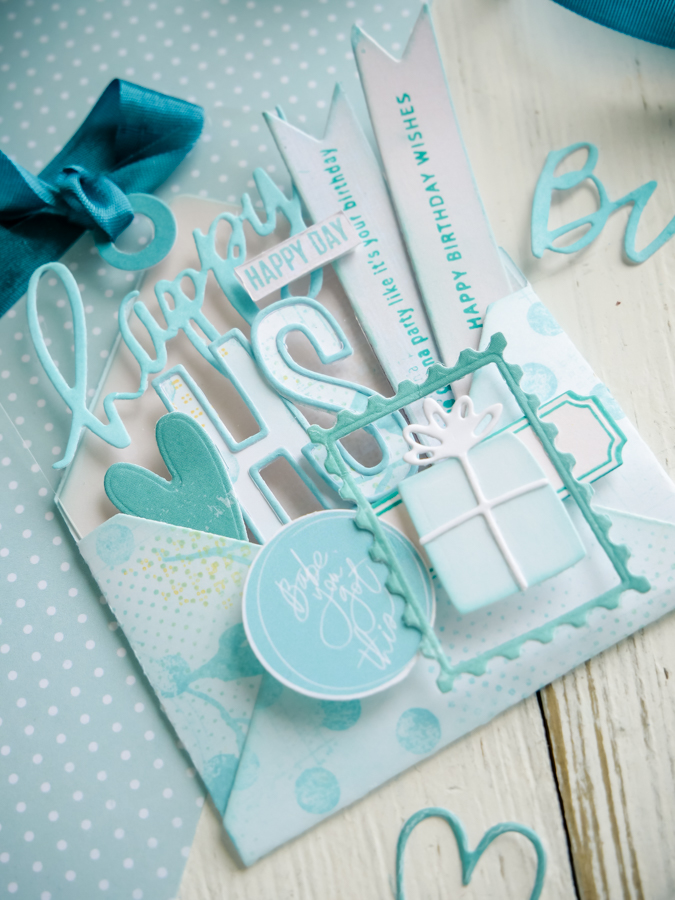
Here's how it went...I did indeed attempt to video this making. But I failed. Sorry. However, you may see that this stuffed pocket celebratory creation only looks complicated. It really is not.
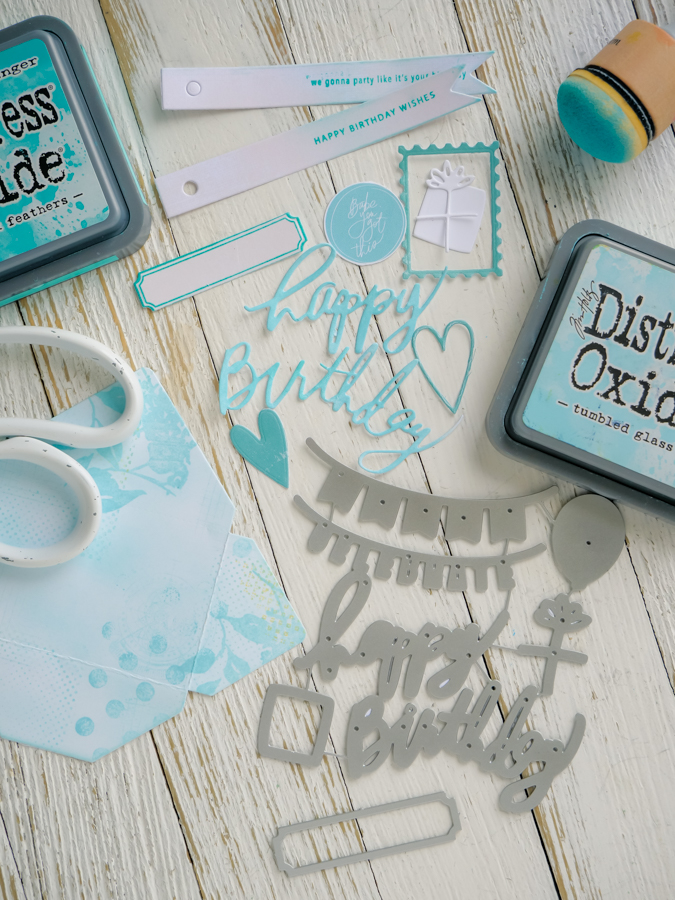
First and foremost, something I am preaching more and more these days: gather. Gather the things. I was not completely sure where this was headed, but I knew I wanted an envelope. So I die cut just that using her 2x3 Envelope Die. Then I went to work adding Tumbled Glass ink blending, plus the March 2023 Stamp Society came in super hand too. After I added the stamping and ink coloring then I cut it. That was great fun to make.
Then...I die cut tags and stamped them with the new Happy Birthday Stamp Set.
Then...I die cut out that postage outline with the March STB Die set.
Then...I stamped and cut a label with the new Label Stamp Set.
Then...I die cut the Happy Birthday die out of white and colored it with the Tumbled Glass too.
Oh. And did you notice that circle element? It's from the April Stop the Blur printable. It was too good to pass up.
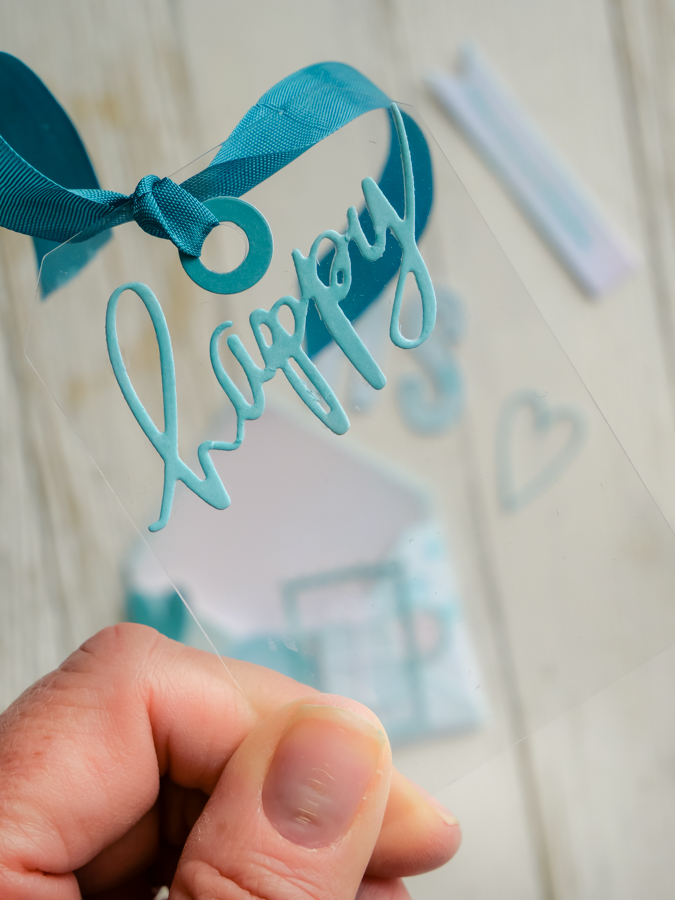
After the envelope was stamped, die cut and then folded and constructed, I then used a Ghost Tag from my stash and added some Color Collective Ribbon as well as that 'happy' die cut. Yes. I should indeed have used the Cardstock Sticker Paper for that...but I was not thinking. It happens.
So then what happened next is I adhered the Ghost Tag to the inside of the envelope with some foam tape adhesive. Next, the stamped tags were tucked in and also adhered in place. The stuffed envelope concept is not about removing the contents. I mean...you could do that. But then it would not be displayed proper like in a way in which you could see all the elements. So. Adhere them down in place it is!
And did you notice the HS? Yes...forgot to add those to the gathering image. Left over paper that had been inked and stamped and made into an envelope? Yeah...that one...I used that to die cut out the HS with the Destination Alpha Outline and Solid Dies. That is such a fun thing to do. The letters are adhered with foam tape too right on the Ghost Tag.
You just keep moving and sorting and putting things where you like them. That's basically how a stuffed envelope goes. It's sort of a no-miss operation.
Oh...and then you stuff the envelope into an envelope and send it to the birthday girl! Sorry, Heidi. This will be a few days late. But it's a happy birthday envelope for all time!
Now it's your turn! Make your own and be sure to tag me up on Instagram at @jamiepate. I would love to see your version.
Find all the things right here: https://bit.ly/HeidiSwappShopStamps
Hey friends...when you shop the links in this blog I receive a small kick back from your sales from ScrapbookCom and Heidi Swapp Shop. There is absolutely no extra cost to you at all! But these commissions help to cover the costs of this blog to provide you with project ideas. I want to continue to bring you FREE inspiration. Shopping these links allows me to do just that. I can't thank you enough for your love and continued support. Also, the opinions expressed in my blog and my YouTube Channel and all social platforms are independently my own.

No comments:
Post a Comment