

new Acetate Sheets + Minc Tecniques
Have you found the new ScrapbookCom Acetate Sheets? There have been some questions about how these craft sheets hold up to heat. I'm here today to tell you they hold up beautifully. Let me tell you all about them.
These new acetate sheets are an exclusive product to ScrapbookCom. They are beautifully clear. They are 5x6 inches and come in a 20 pack. Acetate is always a crafters friend. I for one use them often with card and tags. But they are also quite often found in my mini albums as clear pages. Super fun way to add to a mini album.
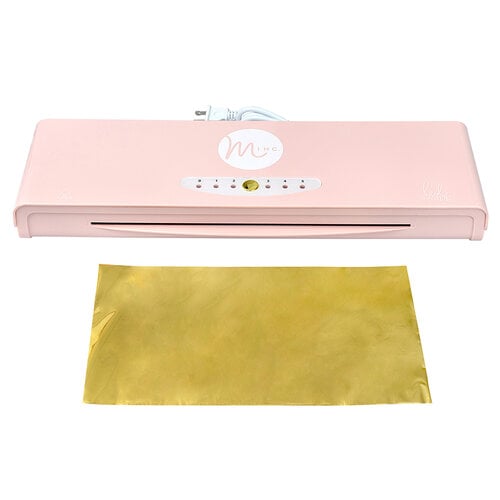
The acetate cuts very easily with scissors. They can be run through a die cutting machine with a high tack mat and deep cut blade. But not only that...the acetate sheets are heat resistant, and I have even run them through my laser printer...AND my Minc Machine.

You can watch THIS video HERE. In that video on the ScrapbookCom YouTube Channel I am sharing a tutorial using the new acetate sheets with the Minc Foil Machine.
I am going to demonstrate three great ways to foil on the acetate which in turn you can then find endless ways to use these crafty sheets throughout your own making.
In this post I am going to walk you through what I shared in that video. I just need to say that you will want to watch that short video because these Minc Technique reveals are everything.

First let’s talk about printing on the acetate for the purpose of foiling.
This technique requires a laser printer. The toner ink in a laser printer reacts to the Reactive Minc Foil to foil the design.
I printed first on paper
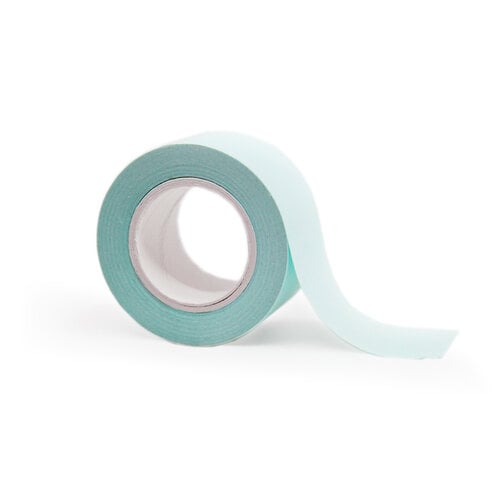
Then I taped the Acetate with Mint Tape to the paper and printed a second time.
Now I have a laser printed word on the Acetate Sheet.
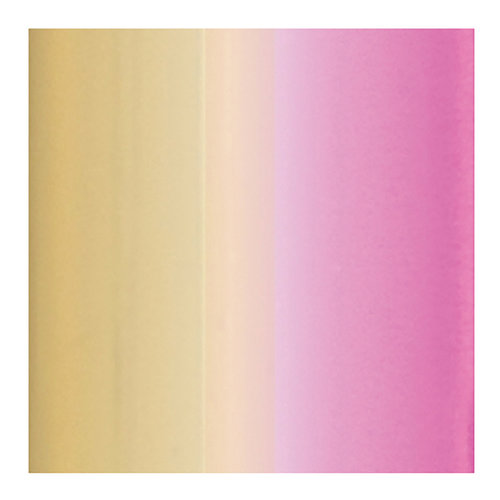
Now all you do is following manufactures directions, foil the Acetate with the Minc Machine.

Secondly I want to show you how to stamp on the Acetate Sheets.
For this technique you will need several items:
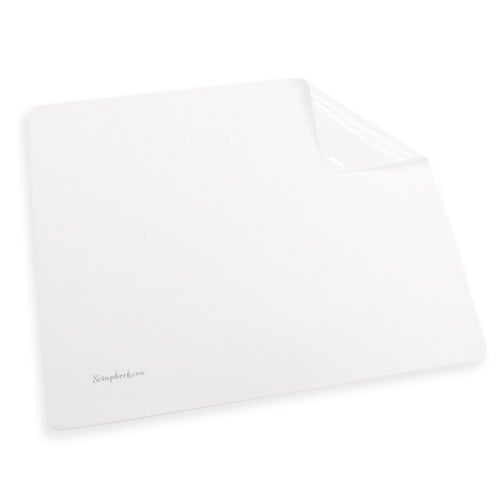
A ScrapbookCom Silicone Mat
Heidi Swapp Minc Toner Ink
Heidi Swapp Mini Brayer
A stamp. I am of the opinion that a rubber stamp works best
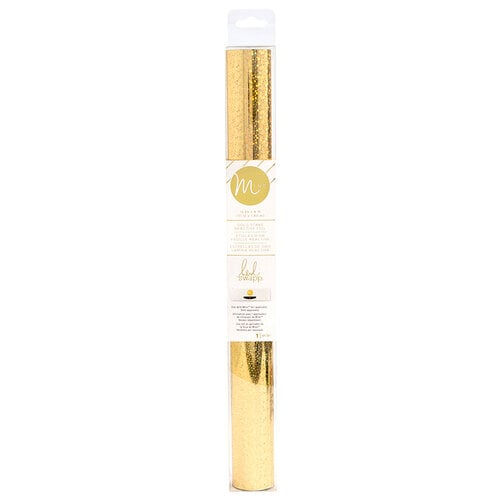
Then of course the Minc Machine, carrier folder and Reactive Foil.

First for this technique pour a bit of the Toner Ink on the Silicone Mat
Spread it out a bit with the brayer
Allow the Toner Ink to sit out for a bit, maybe 10 minutes to just sort of thicken up just a bit. I find that provides better results.
After letting it sit out a bit use the brayer again to roll ink on the roller
Then roll ink onto the rubber stamp
Stamp the Acetate
Let it dry for a bit...it’s best if it is actually dry
Follow the foiling directions again (carrier sheet, acetate sheet, foil, into machine)
Then again, you have a beautiful image on the Acetate sheet to craft any way you want.

The last technique will require the following supplies:
ScrapbookCom Silicone Mat
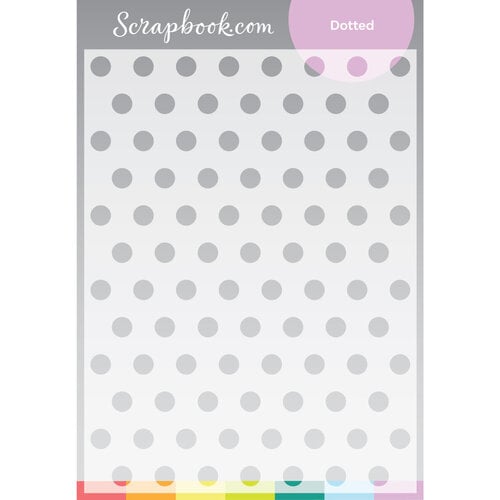
ScrapbookCom 6x8 Dotted Stencil
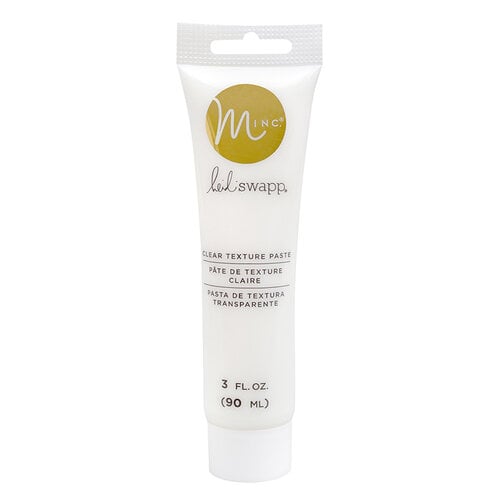
Heidi Swapp Minc Texture Paste
Palette knife
Mint Tape for holding down stencil since the Acetate is sort of a slick material
Lay the Acetate on the Silicone Mat
Layer the Stencil over the acetate and tape in place
Apply a smooth layer of Texture Paste over the stencil and through the design
Carefully lift the stencil.
This time you do need to allow the Texture Paste to dry really well before foiling through the Minc Machine.
After the Texture Paste is completely dry, place Acetate in a carrier folder, with foil on top, then run through the Minc Machine as done with the above techniques.
All these instructions and complete visual video is available to watch HERE.
Hope this inspires your making with the new Acetate Sheets and Minc Machine and Foils. The make possibilities are endless.
Hey friends...when you shop these links below, I receive a small kick back from your sales from ScrapbookCom. There is absolutely no extra cost to you at all! But these commissions help to cover the costs of this blog and other expenses to provide you with these and other project ideas. I want to continue to bring you FREE inspiration. Shopping these links allows me to do just that. I can't thank you enough for your love and continued support.
Find all the supplies here below:


Thanks, Jamie, for another great demonstration! I always enjoy how well you explain the different techniques.
ReplyDeleteThank you! I appreciate that. Where is your Oasis in the Desert?
Delete