Showing posts with label color magic. Show all posts

fabulous new color magic card sets

1.17.2014

Today i am over at heidiswapp.com sharing a quick tip for her new Color Magic Card Sets.

I love these cards so much!!!  And I think you will too.

there is a short video on her site today sharing just how easy it is to color these cards with the Color Shine. I hope you will check it out.

jamie pate ~ color magic quick tip

color magic mini memory file ~ heidi swapp

9.19.2013

jamie pate
i love mini stuff.
i love layers.
i love papers and pages peeking out behind other papers and pages.
and i love making all that any color i want.
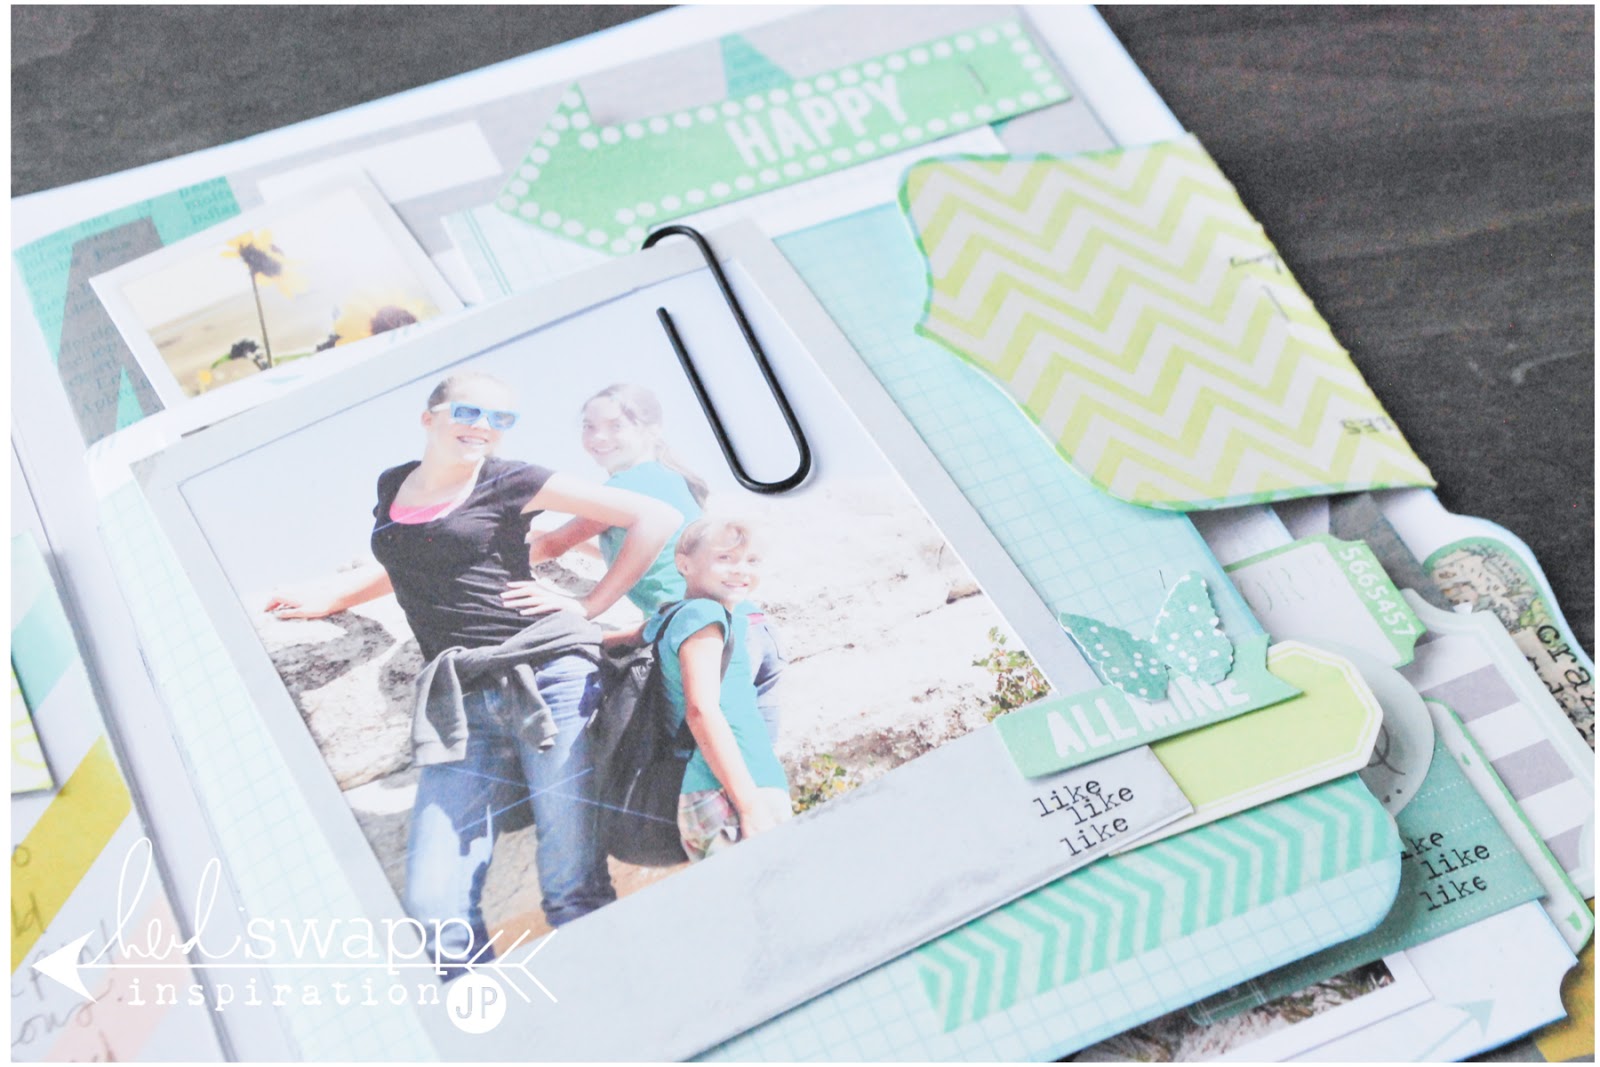
today i have posted, over at HeidiSwapp.com, a mini memory file with a whole lot of color magic stuff.
lots of step out photos and how tos.
maybe even a tip or two.

here are several close ups of the project...
and then a video at the end.
jamie pate
jamie pate
jamie pate
jamie pate
jamie pate
jamie pate
jamie pate
jamie pate
jamie pate
jamie pate
jamie pate
jamie pate


enjoy the video. a little disclaimer...i called what should be Mixed Company, instead mixed media. Just know that most of the pattern paper used is from the Mixed Company Paper Pad. thanks!

a non~mom gift

5.10.2013

jmpgirl ~ a non mom gift

as you may or may not have read in my last post of yesterday...
my heart was struck recently upon reading this post by a 'non~mom' to her pastor.
and so i was compelled to create a gift for a friend of mine.

jmpgirl ~ a non mom gift

as i am always reaching for Heidi Swapp's Signature Series book from last year,
this project was inspired by one she showcased in that publication.

jmpgirl ~ a non mom gift

i adore the ever flexible value of the Memory Files.
as she shared in her book, i took on of these gems and cut it down to size a bit.
then i went to work to make it very interactive.

jmpgirl ~ a non mom gift

the Jumbo Tag here is actually a removeable card with a message inside...
as well as a message hidden underneath.
and do you see the 'fabulous' tag peaking out?
it too is a hidden message for the recipient.

jmpgirl ~ a non mom gift

a few of the details close up...

jmpgirl ~ a non mom gift

the right side of the open file also has some interactive and hidden virtues.
a glassine bag from my stash was used as a pocket to hold a tag that has a hand written message on the underside.

jmpgirl ~ a non mom gift

a slit pocket was created to be a larger space for a larger hidden message.
i printed the letter to the pastor and folded it in half...added a Memory File Label to the edge...
and stashed it inside the pocket as a secret space to share this very secret message.

i adore how the Memory Files are amazing canvases for so much creativity to come to life for your photos...
or a needed message to a special friend.

now go...
share your love with someone today.

day by day

1.03.2013

jmpgirl~day by day journal

I am over at HeidiSwapp.com today sharing my latest journal inspiration. Hope you will hop over and check out the details there.

jmpgirl ~ day by day journal

But here today I share the step by step for this art journal-mix media inspired book.

jmpgirl ~ day by day journal

You have to go over to Heidi's to know about the why of the book...

jmpgirl ~ day by day journal

But here I will share with you the how of the book.
Ready for a little bit of eye candy?
Here we go::

This journal starts with a Mini Memory File + Chipboard Memory File. These items are so versatile and this is not the first time I have made journals with them. Today I will share with you the details of the cover. And tomorrow I hope you will come back and see how I really personalize the inside and make this such an important go-to book in my day.


1.Cut Mini Memory File in half.
2.Cut Chipboard Memory File in half to match Mini Memory File.
3. Attach Mini Memory File to front half of cut Chipboard Memory File. Do same for back portion.
4. Cover inside of Chipboard Memory File with Vintage Chic paper in Just Dots and Beautiful Songs.


5. Trim piece of vellum to shape of front cover. I adore the pattern of the black damask Mini Memory File...but I wanted it to be a bit subtle. So all the elements are attached to the vellum.


6. Sew doily and notched Color Magic Paper top left corner.
7. Spray Black Velvet Color Shine on vellum.
8. Place rhinestone brad through middle of two Flower Trimmings. Adhere to layer on top of doily and notched banner.


9. Spray a piece of Color Magic Paper with Tinsel Color Shine. Adhere to lower right corner of vellum. Trim off extra.
10. Spray scalloped Banner Delights with Black Velvet Color Shine. Overlap the Color Magic Paper.
11. Spray scallop Artisan Ribbon in Black Velvet Color Shine. Sew on vellum overlapping the Banner Delights.


12. Insert piece of Beautiful Songs pattern paper inside Mini Instaframe. Staple to vellum.  Cut up a Sentiment Sticker and place inside Mini Instaframe.
13. Spray Chipboard Alpha to spell the word “DAY’ with Tinsel Color Shine. Attach to sit inside the Mini Instaframe.


14. Color Letterbox Alpha with Black Velvet Color Shine. Print a black Color Label from the Digital Shop. Attach Letterbox Alpha’s to label and tuck under Mini Instaframe to attach.
15. Place Buzzwords butterfly on Mini Instaframe.


16. Add an Artisan Chipboard Arrow to cover. Keep white.
17. Place "DAY" Black & White Stickers next to Chipboard Arrow.

Fill inside with filler paper. I use 65 lb presentation card stock from the office supply store.
Separate the months with manila folders trimmed to fit book size.
Punch holes on edge and use ring binders to hold.
More details tomorrow on what's inside.