so many memories to document
Showing posts with label travel. Show all posts
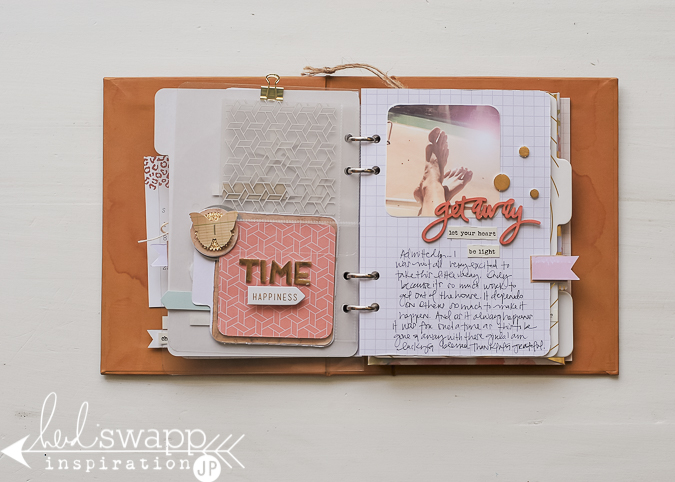
keepin' traveler's notebooks simple
9.10.2019
Labels:
die cut,
heidi swapp,
mini album,
the stamp market,
travel,
traveler's notebook
here we go ~ world wide insta meet up
3.19.2015
A couple of us are sharing ways to use Instagram photos by taking them out of our phones and documenting the story.
And this is my way.
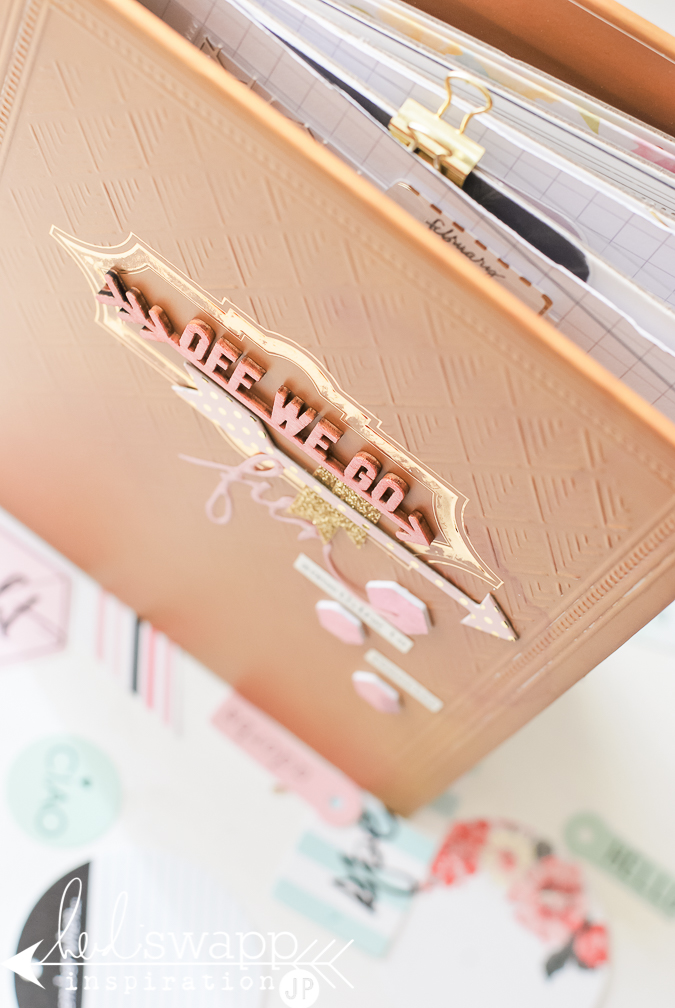
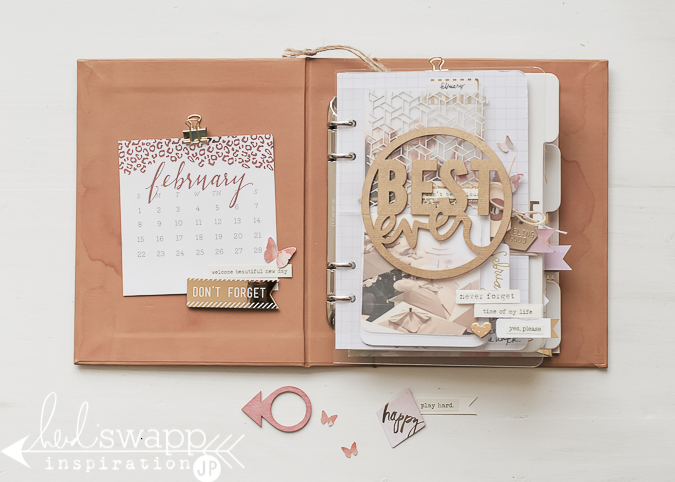
I used the Vintage Gold Foil binder from Heidi Swapp's Wanderlust collection. With this album I collected Instagrams from my phone as well as my girlfriends' phones from a recent little vacay to the coast.
All the details for how I went about printing these photos can be found today on the HeidiSwapp blog.
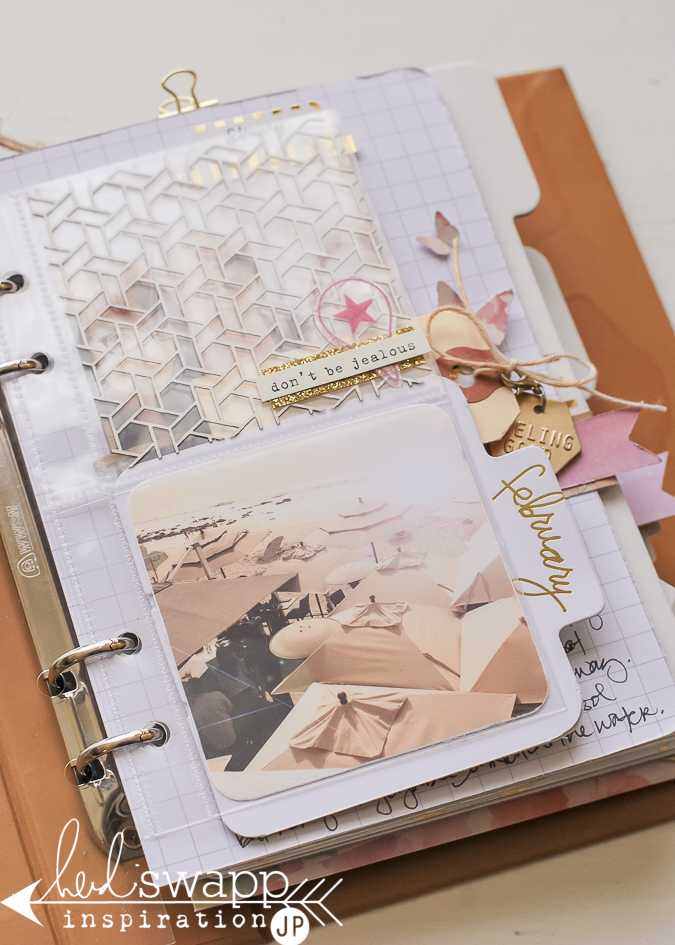
As I explain in the original post, I am using the pocket page protectors that are part of the Wanderlust collection and fit 3x3 photos. Perfect Insta size, right? The top pocket here holds part of the Lace Paper, glitter tape from the Flea Market Pouch Kit, and a clear star geo element from the Flocked Acetate Shapes.
I have always loved clear elements and think there is no reason to make pockets perform for this function.
Something that I have always adored about mini albums is the invitation factor. To see all these elements and that spray painted gold Charm peeking out and inviting the reader in. Ah...I could look at this all day.
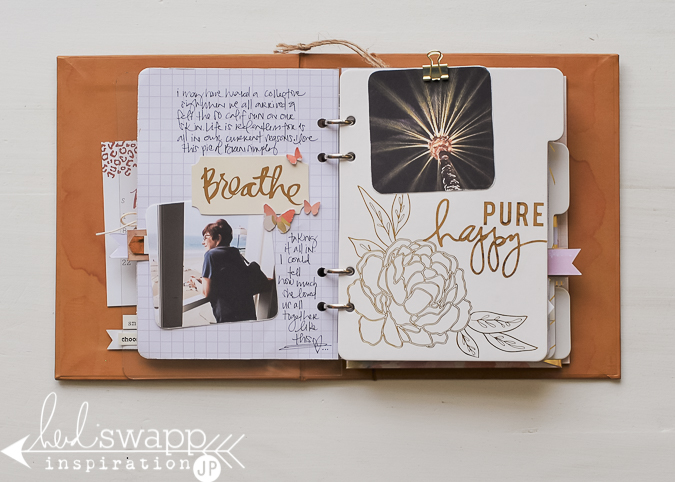
Next page is a Journal sheet with plenty of journaling as well as one of our Instas. The 'today' Wood Veneer is sprayed with Tea Color Shine.
Gold is found everywhere in this album. The subtle hues of the salmon and tea and gold set the tone for this whole book for me. Not to mention some of my friends Instas were filtered, so it just all worked together to keep the same feel. THE OC was foiled using the Letter Foil Kit. So fun.
If you follow me at all, you know I keep my albums just repeating the same page elements so I don't have to keep making stuff up...LoL. So here, after the Tab Divider, another clear element is used to introduce the reader to the next section of the book. The next day in our mini vacay.
You can see I did the same process as before. A photo on the bottom half and the Lace Paper on the top half.
The next page is showing up the same as page two in the beginning of the album. Did you notice the Minc pieces I have been using throughout? The 'good times' is part of my favorite Chipboard Shapes. If you pick up just one Minc accessories pack, get that one...oh...and the Icon Stickers too.
Here again, a Journal Page with a photo, some Wood Veneer, and a few other elements. I call this 'not re-inventing the wheel everytime'. Just follow a page plan and the focus in the creating is on the photos+story.
The Foil Kit with dimensional words. I love how this looks on a clear page! With words layered on top of the page. (WordJumbleStickers found at HobbyLobby), and glitter and that ocean! ah...it makes for a most happy page. A new fav album. And inspiration to go on another trip!
Thank you for staying till the end.
let's go travel journal
7.31.2013
This project was posted over at heidiswapp.com yesterday.
There is not much more to add about this travel journal save to answer a few questions I have received regarding it.
As well as simply show off some larger photos.
oh...thanks for dropping in! I appreciate it so much.
I used several techniques taught in the Stencil Magic class.
That class has been such a great technique booster for me. I am not usually a techy girl...but that class has been so useful.
The clear page used here is actually packaging. It is from the Wood Shadow Box Frame package. I would love to get my hands on some Bazzill acrylic paper...but I cannot find it local...and I guess I am just too lazy to order it online.
The seven is for us...our family. I seem to always throw a 7 in our travel albums. It's just a little tradition for me.
Any and all die cuts will work beautifully for the pocket pages. The pinked circle cut is from a Studio Calico class I took earlier in the year.
Had a question about the page protectors, and wanted to relay that they are included in the Chipboard Binder which is available at Michaels. There are 12 to the binder. Fabulous!
Had several people mention to me that this must have taken me a long time to create...
I explain in my post of yesterday, that I come up with an idea for several pages, and then just repeat the main ideas over and over.
This is how I approach most of my mini albums.
I also include over there the order of my pages and how they worked together.
So for me, once I know how the book is going to flow, it's just a matter of pulling embellishments and paper together. And since I keep to specific colors, it really comes together pretty easily.
This book was a chance to play with technique, some new ideas, lots of layering, and just whatever made me smile. And trust me...I did a lot of smiling while I was creating this book. Found my groove and just went with it.
I. LOVE. IT. WHEN. THAT. HAPPENS.
And yes...there is a wide cross over of many (if not all) of Heidi's collections used in here. Not to mention plenty of items from the Digital Shop. It's one of the many things about her product lines that is so great. So much of everything works right back into another collection.
This view is a good example of my above paragraph, as it includes:
Word Quotes
Sugar Chic
Color Magic Notes
Clear Stamps
Color Pop Tags
One of the emphasis for this journal was to focus on just that: JOURNAL.
It is becoming even more important to me that I write stuff down.
The little details.
Right now, at this point in my life...I have a senior,
and a freshman...
and other ones right behind those two...
life is flying by me.
So... I need to write it down. Now.
Thank you so much for the interest you showed in this album this week. It is my new favorite. I have loved this pre made travel journal format for many years now...
and so it makes me happy to share with you, well...what makes me happy.
now i just need someplace to go...(wink)
desktop mini file album
11.19.2012
So if you follow me at all on this blog you may suspect I have a thing for mini albums.
The idea of one smallish album being home to a single story really gets the creative juices flowin' for me.
Don't get me wrong, I am still a traditionalist when it comes to the 12x12...one of those die-hards that does not believe traditional scrap booking is dead...but that is another post for another time.
So when Heidi introduced in her MemoryFilesLive class a new use for the ChipboardMemoryFiles I immediately fell in love.
There is also a CreateToRemember video that shows off how this is put together.
Of course mine went slightly different...because that is how I roll...couldn't just do it like all the rest.
No, instead I trimmed the bottom of one of the shaped mini chipboard files so that I could use the shaped one and it still sit on the desktop as it is suppose to.
What really makes this such a fun project for me is that it is a display piece.
Hence the desktop part...right.
The right side of the file is sort of a bulletin board if you will.
Notice I used an everyday office supply clip to hold the photo of mr. pate and I.
These pictures in this display came from a sort of photo expedition our family enjoyed on our last Sunday up in GlenwoodSprings. (You may recall last weeks TravelMemoryFile home to 40 photos...well yep...you guessed it...there are even more photos.)
So what a great event to have out for display.
I treated the right side 'bulletin board' just like any other layout. Lots of layers of paper, words, chipboard embellishments, wood veneers, tags...just what I do already, only a little bit more miniature.
The left side of the 'album' is a photo stack I made with NoLimits pattern paper.
It is a great way to still get a whole lot of photos in one place. There are thirteen pictures in the photo stack with the dimensions of either 3x3 or 3.5x2.5.
A peak into how those are all arranged inside the stack.
Gosh I love the diversity of paper arts and story telling these days.
There are so many ways to show off those precious memories.
This desktop mini file could be really simple...
or embellished to the hilt...
and still be such a show piece.
This one sits right next to the TravelMemoryAlbum and tells a complete story that my family reaches for very often.
Love how this keeps the memories alive.
Love how it keeps us connected.
Love how we remember these special times in our lives.
Now go...check out Heidi's video for this project.
because not only is this a great project for yourself...
but I know that I am going to be making several for Christmas as well.
The idea of one smallish album being home to a single story really gets the creative juices flowin' for me.
Don't get me wrong, I am still a traditionalist when it comes to the 12x12...one of those die-hards that does not believe traditional scrap booking is dead...but that is another post for another time.
So when Heidi introduced in her MemoryFilesLive class a new use for the ChipboardMemoryFiles I immediately fell in love.
There is also a CreateToRemember video that shows off how this is put together.
Of course mine went slightly different...because that is how I roll...couldn't just do it like all the rest.
No, instead I trimmed the bottom of one of the shaped mini chipboard files so that I could use the shaped one and it still sit on the desktop as it is suppose to.
What really makes this such a fun project for me is that it is a display piece.
Hence the desktop part...right.
The right side of the file is sort of a bulletin board if you will.
Notice I used an everyday office supply clip to hold the photo of mr. pate and I.
These pictures in this display came from a sort of photo expedition our family enjoyed on our last Sunday up in GlenwoodSprings. (You may recall last weeks TravelMemoryFile home to 40 photos...well yep...you guessed it...there are even more photos.)
So what a great event to have out for display.
I treated the right side 'bulletin board' just like any other layout. Lots of layers of paper, words, chipboard embellishments, wood veneers, tags...just what I do already, only a little bit more miniature.
The left side of the 'album' is a photo stack I made with NoLimits pattern paper.
It is a great way to still get a whole lot of photos in one place. There are thirteen pictures in the photo stack with the dimensions of either 3x3 or 3.5x2.5.
A peak into how those are all arranged inside the stack.
Gosh I love the diversity of paper arts and story telling these days.
There are so many ways to show off those precious memories.
This desktop mini file could be really simple...
or embellished to the hilt...
and still be such a show piece.
This one sits right next to the TravelMemoryAlbum and tells a complete story that my family reaches for very often.
Love how this keeps the memories alive.
Love how it keeps us connected.
Love how we remember these special times in our lives.
Now go...check out Heidi's video for this project.
because not only is this a great project for yourself...
but I know that I am going to be making several for Christmas as well.
Subscribe to:
Posts (Atom)