Showing posts with label valentines. Show all posts

Crafting Sparkly Magic with Acetate: Elevate Your Paper Crafting Skills

2.08.2025


Crafting Sparkly Magic with Acetate: Elevate Your Paper Crafting Skills | JamiePate

Valentine's Crafting Extravaganza! | Valentine Clusters

1.11.2025

Valentine's Crafting Extravaganza! | Valentine Clusters | JamiePate.com

paper joy
 

New Stamps in the Studio | January 2023 | Heidi Swapp

1.02.2023


New Stamps in the Studio | January 2023 | JamiePate.com

tell your story 

For the Love of Making Tags | Textured Love Tag

2.09.2022


For the Love of Making Tags | Textured Love Tag

for the love of tags

One Way to Share the Love | You Are Loved Banner and Freebie

2.08.2022

One Way to Share the Love | You Are Loved Banner and Freebie


hey. lots of love and a freebie here

Valentines Love and the Blush Spinner

2.02.2021


Valentines Love and the Blush Spinner by Jamie Pate

all kinds of love for the Blush MemoryDex Spinner

How To | Valentine Minc Tags

1.29.2021

How To |  Valentine Minc Tags by Jamie Pate

foil up those pretty tags

easy glitter stenciled banner

2.12.2020

How To Minc Glitter a Stencil Heart Banner by Jamie Pate

how to add glitter touches to an easy banner

how to foil flake valentine cards

2.07.2020

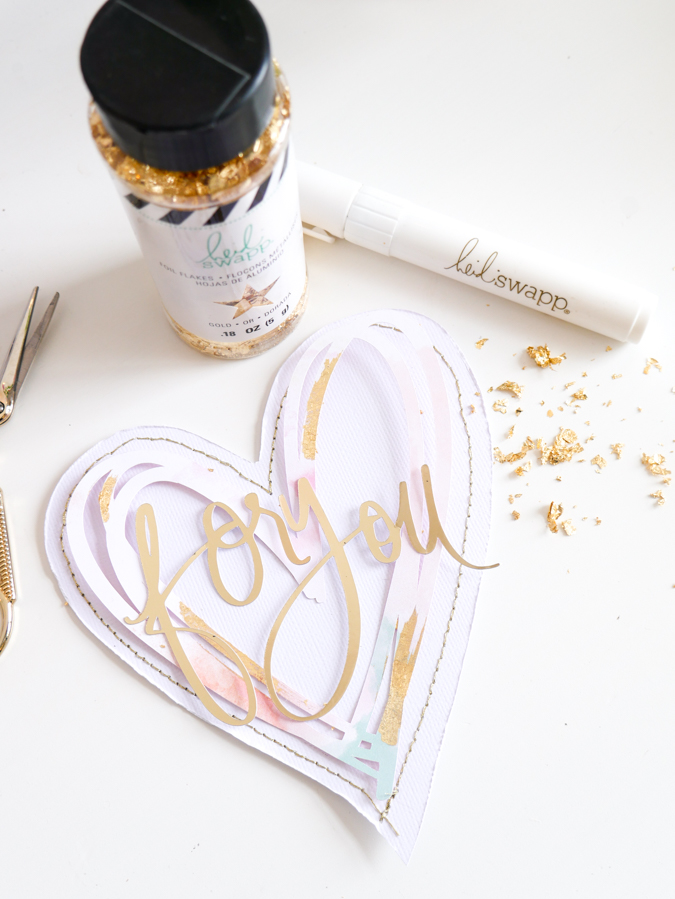
How To Craft Valentine Cards With Foil Flakes by Jamie Pate

How To Craft Valentine Cards With Foil Flakes


how to easily share your love

2.03.2020

How To Craft Cards with Texture Paste

cards that are all heart


valentines made easy

2.09.2019


alentines Made Easy with Heidi Swapp Stationery by Jamie Pate | @jamiepate for @heidiswapp

Wrap Up a Sweet Treat For Valentines

minc it monday ~ valentines day cards

2.05.2017

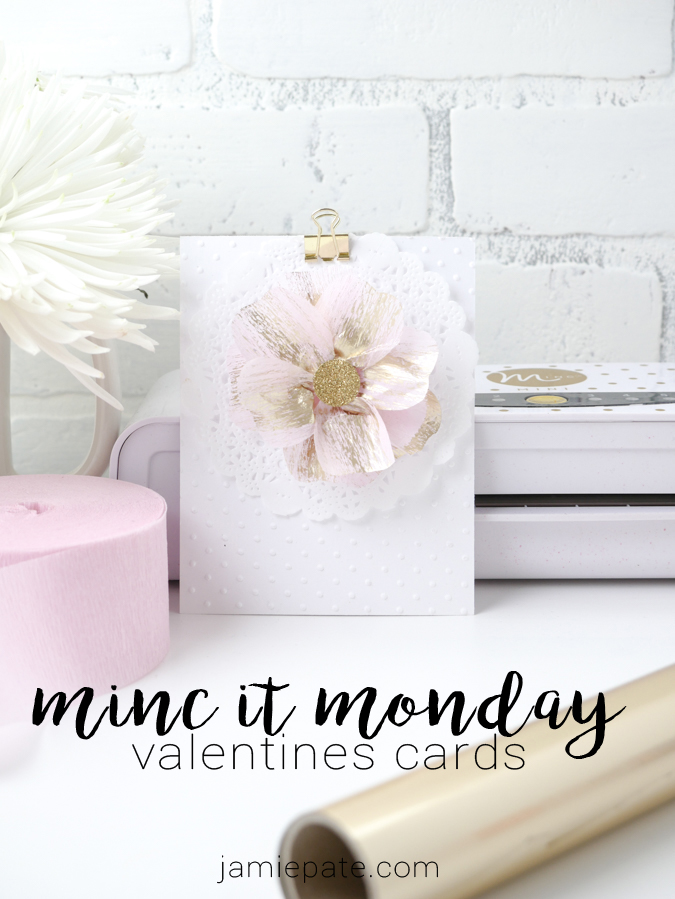
Heidi Swapp Minc It Monday by Jamie Pate ~ Valentines Cards  |  @jamiepate for @heidiswapp

Valentines is right around the corner.

valentines cards & the minc

2.07.2016


Heidi Swapp Minc Valentines Cards | @jamiepate for @heidiswapp

Valentines is this week, people. It's the most wonderful time of the year for us paper-crafting card makers. I mean who doesn't love pretty cards and chocolate?


#heidiswappsayiloveyou blog hop

2.06.2014

Welcome friends...
it's that most wonderful time of the year again...
oops...sorry, wrong holiday...
but Valentines Day is a fun fun holiday full of a few of my favorite things like chocolate and flowers and cards and...did I mention chocolate?

jamie pate for heidi swapp

 Today the Heidi Swapp Media team is celebrating a little early and hoping to share some inspiration with you.  We want you to make something. Anything. A card. A tag. Some cookies. You get the idea. And share your appreciation with someone you might not normally give to.

jamie pate for heidi swapp

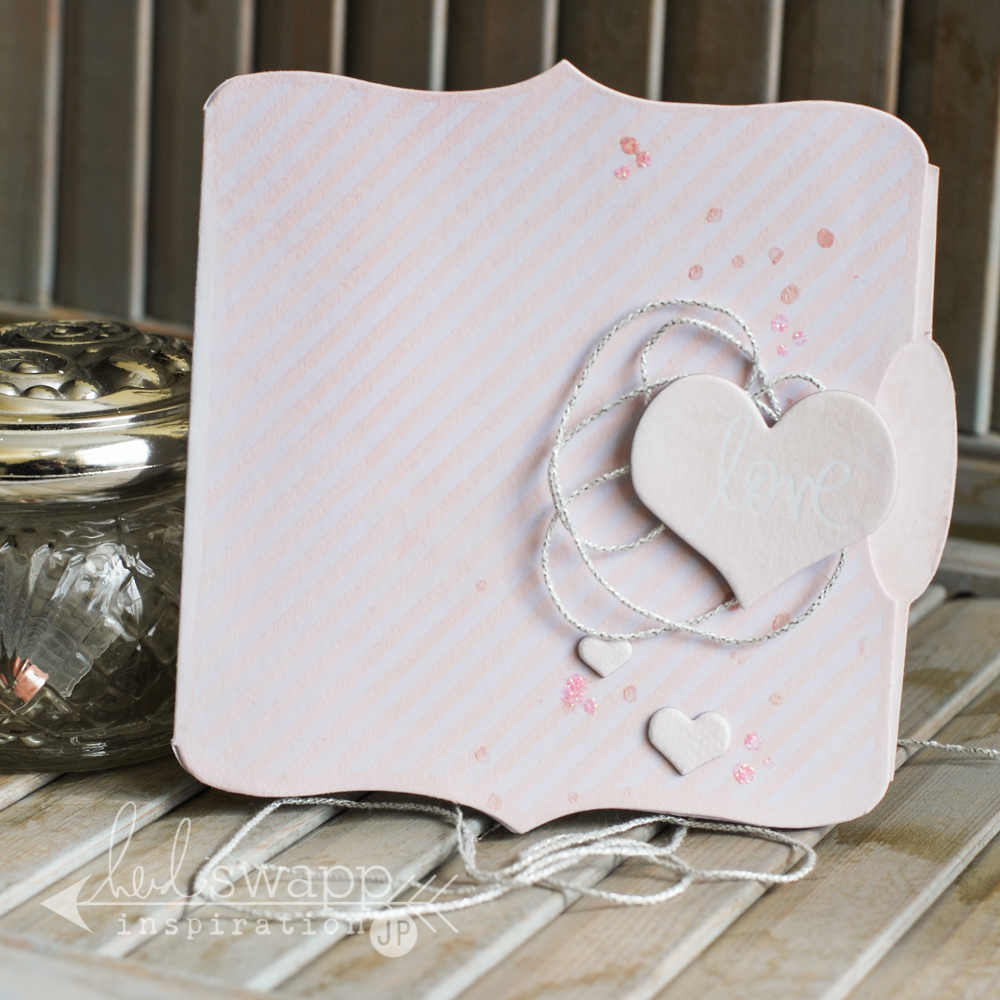
 I went with a classic standby...a card Valentine. Can't help myself with the new Color Magic Card sets? Are you kidding me? They are so much fun to play with and dress up and are a unique take on the traditional card.

jamie pate for heidi swapp

 I kept mine very simple and soft. Using the Color Magic File Set, I took to coloring all the elements the same color using Blush and White Color Shine. More on that in a minute.

jamie pate for heidi swapp

After everything was colored and let to dry, I took silver twine and layed it lazily on the card and held it in place with one of the hearts from the Color Magic Chipboard Stickers. I added a few more of the hearts as well. Some splatters of the Blush Color Shine and a few dots of Zazz Glitter Glue in Parfait and it was complete.

For the color of my card, I wanted really really soft, so here is what I did:


1. Used these items.


2. Sprayed Blush and White Color Shine on my craft mat, but I went a little heavier with the white.


3. Then the Color Shine was dabbed on the using a cosmetic sponge. And you can see how extra soft it is now on the Color Magic Element.

O.K. now...I have someone special in mind to share this Valentine with...it might sound corny...but it goes to the lady who does my hair. Cause she is practically a miracle worker. And I want her to know how much I appreciate her.

How about you? Who will you share a Valentine with? Send some love to someone and you could win some goodies from HeidiSwapp.com. Create something. And then show us on instagram who you shared it with. Be sure to use the hashtag #heidiswappsayiloveyou so we can follow along. More details on HeidiSwapp.com if you have not visited there yet.

Now...let's head on over and see how Jennifer Evans is sharing her love.
And then be sure to check out the rest of the team and what they are up to today.

Here are the list of girls participating today! If you haven't already started with Heidi Swapp's project make sure you do! She has some freebies to giveaway as well!


it's not too late

2.13.2013

Valentines Day is tomorrow...
are you ready?
I have to say, I am more ready this year than ever...
later I will share some gifts I have made for those here at home to show them my love...
but today a couple of cards...

jmpgirl ~ valentines printables

This was created using HeidiSwapp's Valentines Papers. I simply printed out several patterns.
Constructed a card front plus some Heidi and Pink Paislee embellishments...

jmpgirl ~ valentines printables

Did the same to the inside...
added an openable mini book...
plus there is a pocket with a photo hidden away inside...

jmpgirl ~ valentines printables

This true love card was made with her Happy Valentines Printable Cards...
no photoshop skills needed...
simply download the product.
print out the pdf's...
she even includes instructions...

jmpgirl ~ valentines printables

and then embellish them inside and out..

jmpgirl ~ valentines printables

These cards include stickles...
and Color Shined seam binding...
a few of Heidi's Cutting Files...

jmpgirl ~ valentines printables

washi tape here and there...

jmpgirl ~ valentines printables

I added tags...and clips...and hidden messages inside pockets.

I find true pleasure in creating handmade goodness for those I cherish and love...
it really is an uplifting boost to my heart...
as well as to the one I share that goodness with...

Now go...while there is still time...

show your love by creating with love.

 oh...and have you seen this?

See here for more details...sort of...

kiss me collection~paper cones

2.06.2012


Using the Stampin Up petal cone die cut, I have been putting together paper cones using the Kiss Me Collection by RhonnaDESIGNS.
I am officially in love with these papers.
I am officially in love with the vintage feel and nature of this kit.
I will officially be sad next week when the making and creating of all things Valentiney will be over.


The striped cone includes the banner piece from the KissMe border kit.
1. print banner piece on cardstock.
2. fancy cut the banner.
3. ink edges.
4. cut out the heart templates.
5. punch hearts out of pattern paper and adhere to banner.
6. attach banner to petal cone.
7. adhere string of pearls on top

Not everyone has this die cut, I know. The only reason I have it is because my dear friend Bonnie let me borrow hers...after she inspired me with a cone she made for me. (an amazing talent she is).
So, if you too don't have the die, make a paper cone, follow this template, and you can have the same results.


Use tissue and fringe scissors to make an easy and quick filling. But certainly, don't forget to fill the cones with something sweet for your sweetheart.


The chevron cone was embellished with things simply found in my studio.
book paper.
netting.
burlap.
ribbon.
pearls.
use what you have.
I made a book ruffle and attached to the cone.
A string of pearls layers on top of the ruffle.
Then a little junque bow was added to the corner.


The canvas quatrefoil  cone...my fave!

to embellish:
1. make lolly from vintage book paper.
2. layer sheer ribbon and coffee dyed seam binding on top.
3. starburst punch label from collage plain paper pattern. attach to the top of the ribbons.
4. snuggle the 'kiss me' flag from the kiss me printables flags n tags under the label.
5. use paper shreds (love me the kraft color) as filler to the wonderful gift you will be sharing with your valentine.

kiss me collection~junque containers

1.30.2012

first of all, i hope you have been following rhonna's fabulous and amazing 14 valentine ideas.
i truly have to say, she is ahead of her art. her creativity is spinning daily.
and the fact that she shares a wealth of her style with us these past few weeks has been such an inspirational boost to me. we are blessed that she gives so much to her community.


with the help of her kiss me collection, i have had quite the creative time decorating and gifting for valentines day...well...actually any day. i have been gifting weekly, as part of my one little word this year. and any chance to use rhonna's designs is excuse enough for me.


the printables and valentines kit were used to help junque up these containers for gifts.


it was as simple as printing the flags and valentine journal printable.
trimming them.
blinging them.
adding them to the flowers and doilies.


add to that paper flowers. sparkly tulle. corsage pins...
it has just been so easy to spark valentines this year.


Valentine (or anytime) Treat

1.26.2012

Today I am over here at WIP Kits sharing a tutorial...


kiss me collection~shadow box

1.24.2012


valentines is definitely for all things soft, pink, and feminine.
so when i saw the kiss me collection, i knew right away, i was going to transform this shadow box i had up with our christmas photo, and alter it for valentines.


the collage paper from the background papers is my fav pattern.
it made for a perfect mat to house the goodies i wanted to add to this frame.
once the background paper was in place, i basically treated the rest of the project like a traditional scrapbook page. added photo on a bull clip, attached the bull clip to the background.


i cut out the 'be mine' heart from one of the valentines. the edges were distressed and inked up a bit. some bling emphasized the sentiment. then it was popped up with dimensional tape.
one of my fav. fav. parts of this kit is the printables and most specifically the flags n tags page. i play with those pieces all the time. the 'yours truly' sentiment was trimmed and added to a vintage pearl topped pin. i make my own flags all the time with pearl tops. you can find fun corsage pins in the wedding floral department at your craft  store. so fun.
and book paper...do you know i have a current affair with book paper...book paper rolled roses with tiny pearls in the center. just an excuse to get in touch with my feminine side.


junque bows. thank you so much, sweet margie, for encouraging my love for junque. &bows. i use them every.where. grabbed a bit of masking paper, tim holtz tissue, tulle, pearls on string, and seam binding...add any thing you want...always a perfect little touch.

rhonna has been an amazing valentines day inspiration this past week with her 14 valentine ideas...hope you have been able to catch her posts with all things for valentines decor and gifts. amazing creativity she is sharing. amazing!

also, new digital art kits are on their way this week....
are you receiving the newsletter?
do.
click on the 'newsletter' icon under the hot air balloon on the home page of the shop.

tomorrow project life 2012 will resume.