Showing posts with label marquee love. Show all posts
word of the year ~ marquee love
1.20.2016

This week the Heidi Swapp Media Team has been sharing their word of the year. And we have been been putting them up in lights.
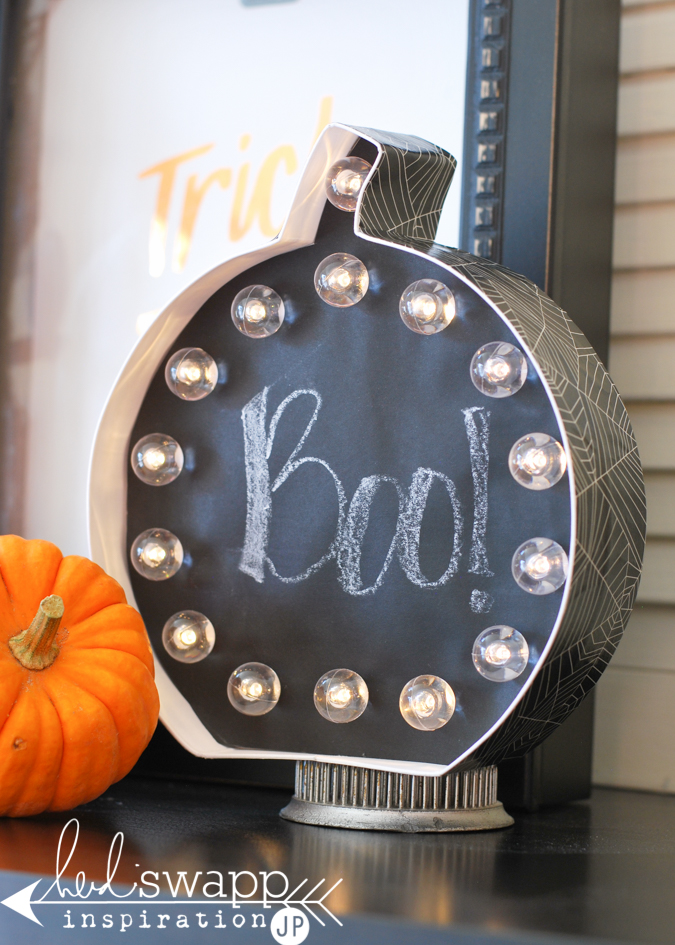
glam halloween marquee
10.28.2015
I have not always been a Halloweenie-person...
Not sure I really even am now.
But this week is already a festive week for us...
with two birthdays and one anniversary...
july 4 marquee star class
6.13.2015
This project was so well received. All the excitement ties right into my exciting news to announce a local class to teach this junque star, as well as a few other extra creative goodies. All the details for my Junque Marquee Star Class can be found right >>>HERE<<<.
If you are local I would love love to see you come out for the class. These girls night's out are not only a time for creative learning, but they are always full of laughter and hilarity. One just never knows what will be said out loud. Our motto is quickly becoming, what is said in class, stays in class.
Hope to see you here!
sweet sixteen marque love
6.11.2015
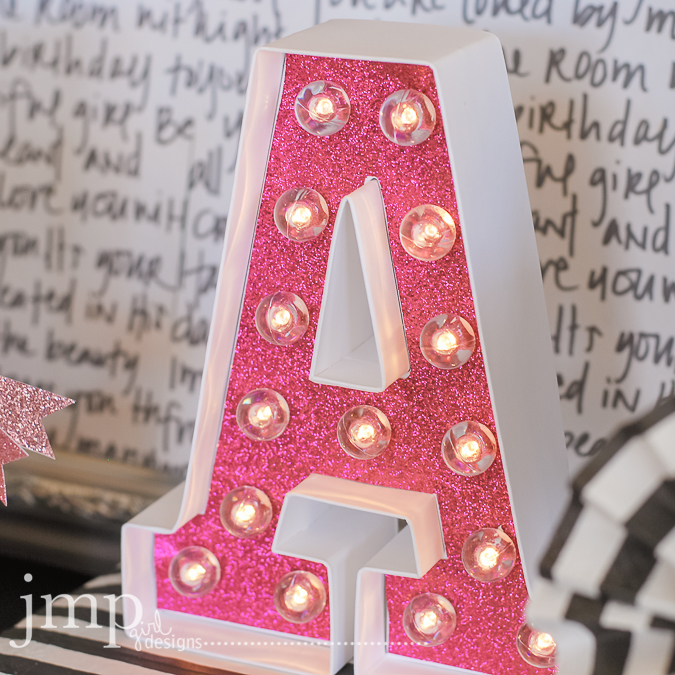
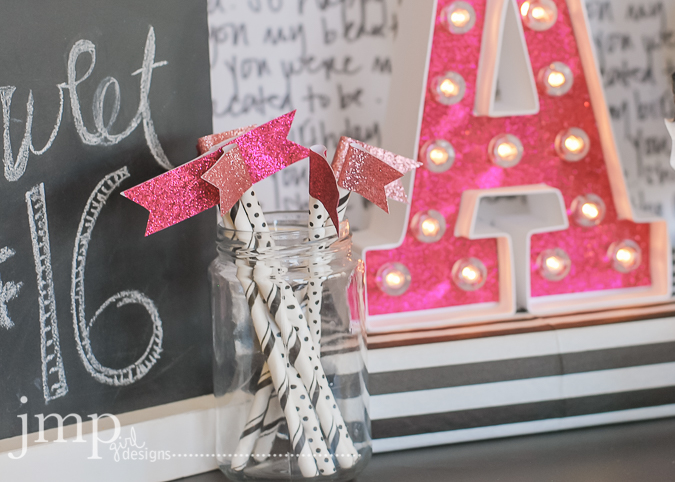
Had so much fun creating this festive Sweet 16 Marquee Love vignette for my daughter's birthday.
It simply came together like a dream. The Marquee Love letter A was upcycled from a previous celebration (my son's graduation in May).
As stated before, I just don't glue down the inserted paper. The lights hold it all in place. So when I want to create something new, I pop out the lights and pull up the glitter paper and do something else. That extra diy aspect really makes these letters quite a value.
The little easel chalkboard was found at the Dollar Spot at Target. I can't walk into Target without perusing that space first. You just never know what you are going to find there and must have.
The 'you got this' is from Heidi Swapp's free downloadable printable found here. I printed the image on white cardstock. Then I ran it through the Minc machine with Pink Foil. The image was then punched out in a circle shape. A rosette was created using the napkins from my party supply. The 'you got this' was hot glued to the rosette, then the rosette was hot glued to a lollipop stick, and tah dah! instant mousse embellishment. (p.s...yes...my daughter DID make all her desserts for her party...it's what makes her happy.)
Party sticks. What's a celebration without little festive party sticks? For these simple decorations, I used Marquee Love Glitter Tape. The 1-inch wide tape was wrapped around a lollipop stick, and then notched at the end. A 5-minute diy and not expensive embellishment.
Just a few ways to take a Marquee Love letter all glittered up and use as a focal point for a birthday celebration.
Thank you so much for visiting and happy Thursday!!!
It simply came together like a dream. The Marquee Love letter A was upcycled from a previous celebration (my son's graduation in May).
As stated before, I just don't glue down the inserted paper. The lights hold it all in place. So when I want to create something new, I pop out the lights and pull up the glitter paper and do something else. That extra diy aspect really makes these letters quite a value.
The little easel chalkboard was found at the Dollar Spot at Target. I can't walk into Target without perusing that space first. You just never know what you are going to find there and must have.
The 'you got this' is from Heidi Swapp's free downloadable printable found here. I printed the image on white cardstock. Then I ran it through the Minc machine with Pink Foil. The image was then punched out in a circle shape. A rosette was created using the napkins from my party supply. The 'you got this' was hot glued to the rosette, then the rosette was hot glued to a lollipop stick, and tah dah! instant mousse embellishment. (p.s...yes...my daughter DID make all her desserts for her party...it's what makes her happy.)
Party sticks. What's a celebration without little festive party sticks? For these simple decorations, I used Marquee Love Glitter Tape. The 1-inch wide tape was wrapped around a lollipop stick, and then notched at the end. A 5-minute diy and not expensive embellishment.
Just a few ways to take a Marquee Love letter all glittered up and use as a focal point for a birthday celebration.
Thank you so much for visiting and happy Thursday!!!
graduation 2015
5.29.2015
It's here...
graduation 2015.
My oldest graduates today with a year of college to boot.
Sometimes it can be really hard to raise children. Someone close to me once said: "It's suppose to be hard." And that's a truism.
So where there is an opportunity to celebrate, well that is just what you do. So today we celebrate this young man and the first big academic milestone. And that is graduation from high school.
You know how you have so many hopes and dreams for your child. That very often those desires over shadow other important things. I think we as parents can let our wants for our children give way to forgetting their accomplishments. We want so much for them, that sometimes that which they are doing right now gets ignored. And that's not right.
This oldest son of mine has not only completed high school, but he is half way to his desired degree. He holds down a job and is advancing in that job. He attends church regularly and has good friends who do the same. He has dreams he works to develop and hone daily. He has a girlfriend that he respects as well as a good relationship with her parents. He has many adult male friends who check on him and hold him accountable. He has family who loves him dearly, more dearly than he will ever know. All that alone should make for a very happy and fulfilled life.
I am grateful for all the good in his life. I can't believe it was just yesterday he was sitting next to me in our little guest room on an old futon couch teaching him to read. That reading took off for him in huge ways and is one of his greatest strengths. He is an amazing reader of many great books.
One way I am celebrating this weekend is to have GRAD in lights. I took G-R-A-D Marquee Love letters and 'Minc-ed' them up. I had to keep this real simple. 12x12 Minc paper was foiled with gold and now sits up straight and celebrates this memorable occasion.
It's so easy to add fun to any occasion with these lights. And seriously, I need it real simple right now with a house full of people and a party to throw tomorrow.
So if you have a GRAD occasion coming up here soon, or any occasion for that matter, run by Hobby Lobby and pick up these supplies to put your party in lights.
And remember...cherish the moments...it really does go by fast.
All supplies can be found at Hobby Lobby. Click HERE for more.
marquee diy
1.19.2015
Have you had a chance to play with the new MarqueeLove from Heidi Swapp?
They are fun letters available at Michaels that come all white and ready for you to diy to your hearts content.
And that's just what I did. Today I have a little tutorial of how I altered a few letters for a gift for a 17 year old male teen.
If you have any 17 year olds in your life, you may well have an idea as to the challenge it can be to buy for that guy?
But this is what I am came up with...
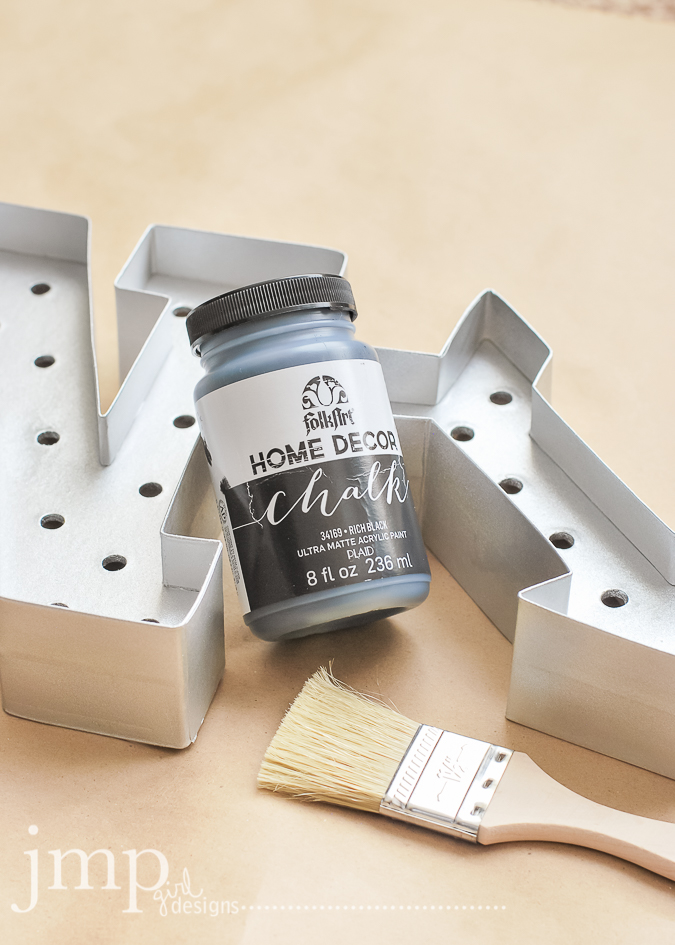
I used:
metallic silver spray paint
black chalk paint
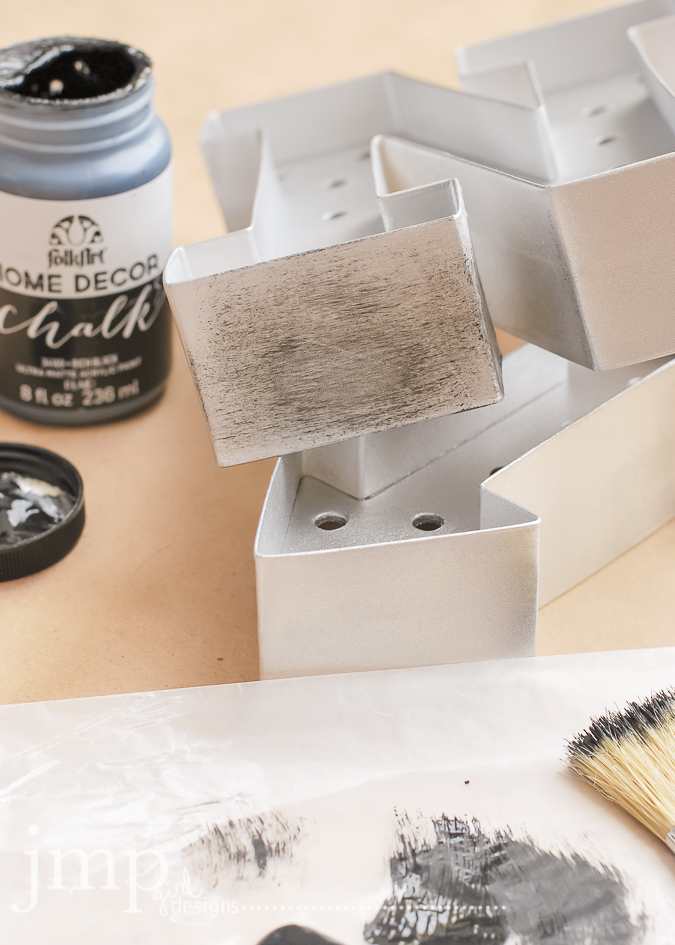
a wide bristly paint brush
First: the letters were spray painted with the metallic silver paint.
Make sure they dry well between coats.
It took about three good coats to get them covered as I liked them.
Next, take the bristly brush and your choice of black chalk paint...
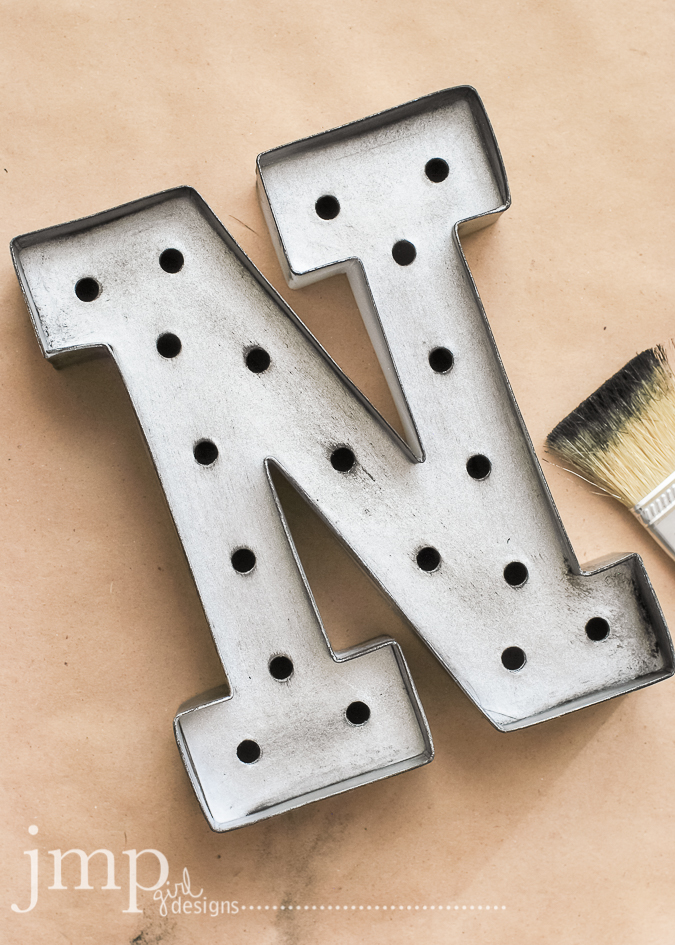
...dry brush the black onto the painted letter.
To do this I would dip the paint brush into the paint, and then dab off as much as I could but still have some paint on the brush.
As I applied the black paint, I would take a rag and wipe off the excess paint.
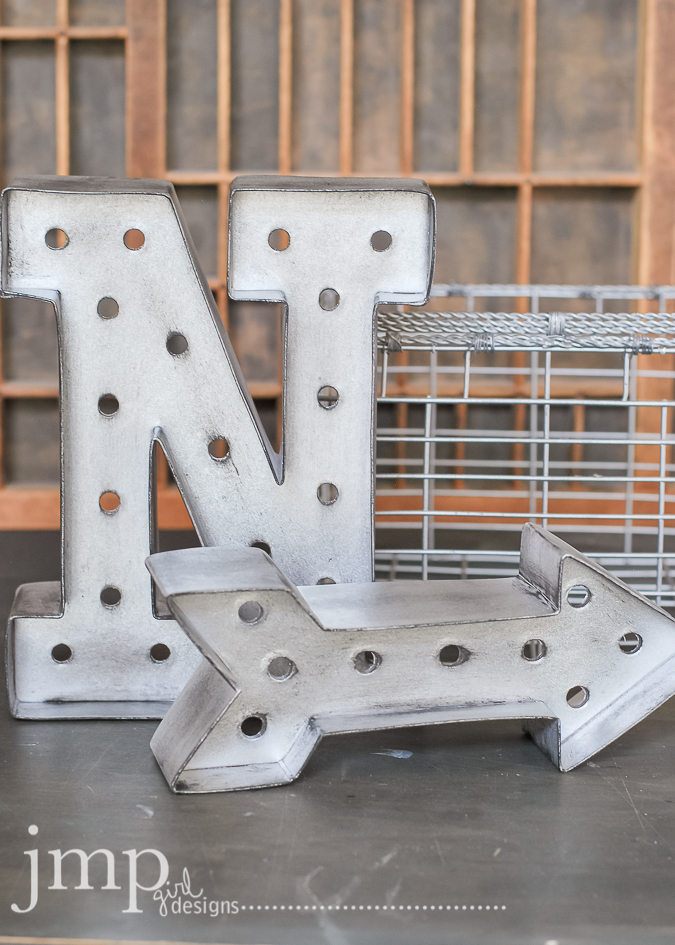
You can see here the completed 'N' and then a bit of the before and after on the 'arrow'.
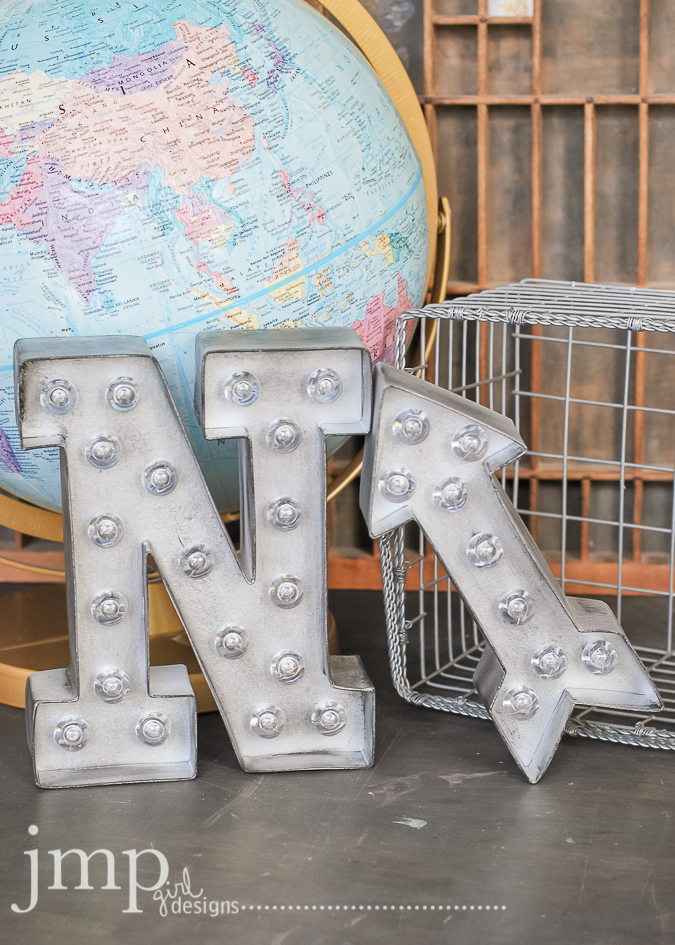
This is the end result before the lights were added. Did you know that each letter and icon comes with its own set of lights that are made specific for that light? It makes this marquee letter kit so easy and doable. Even IF the gift is for a guy.
Tada! and there you have it. Faux vintage metal letters ready for the giving.
I loved how these turned out and hope you found some inspiration here today.
Would love you to link me up with the letters that you diy!
and tag me on instagram too... @jamiepate ...share what you did with your Marqee Love.
Subscribe to:
Posts (Atom)